Step 1: Battery assembly
Warning: In this step, you will be soldering leads to Li-Ion batteries. This could be dangerous if not done right! Please read all instructions carefully and wear eye protection. You are working at your own risk!
Materials and tools used:
Two 18650 Li-Ion batteries
Two battery wire harnesses
Two Power Distribution Boards (PDB)
Spacers
Male headers
Shrink wrap (from kit of parts)
Soldering Iron, solder, flux
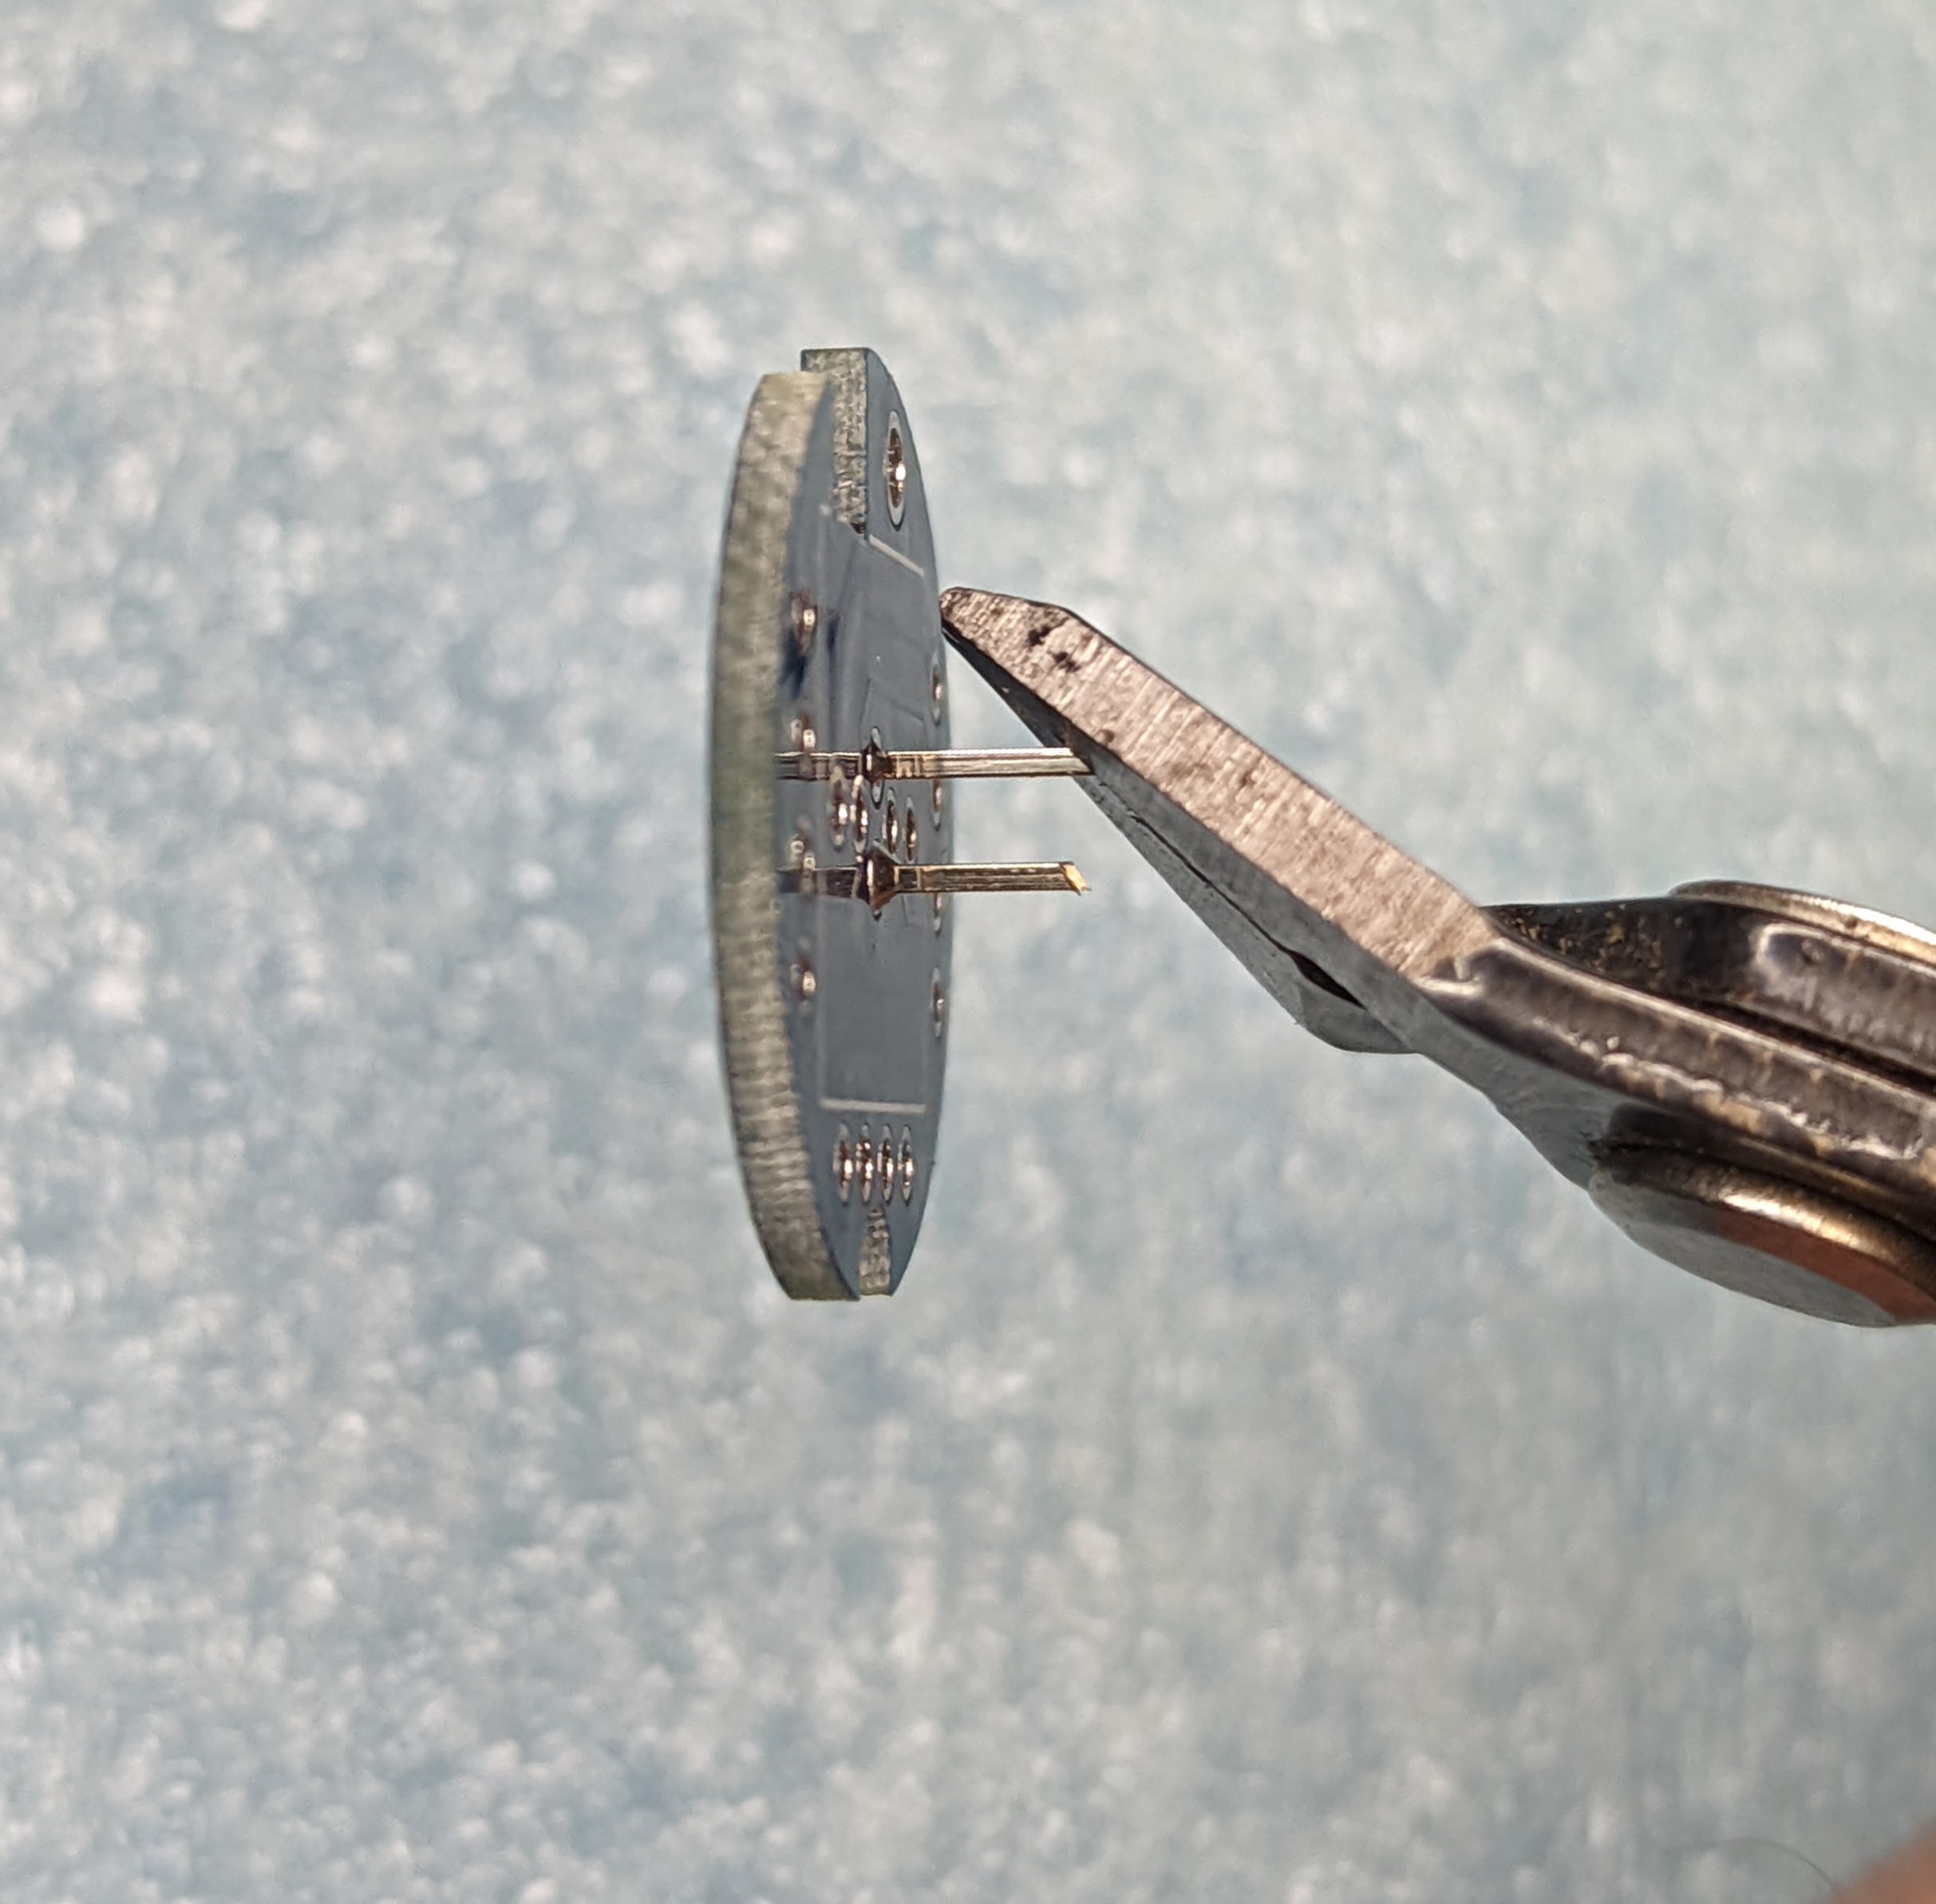
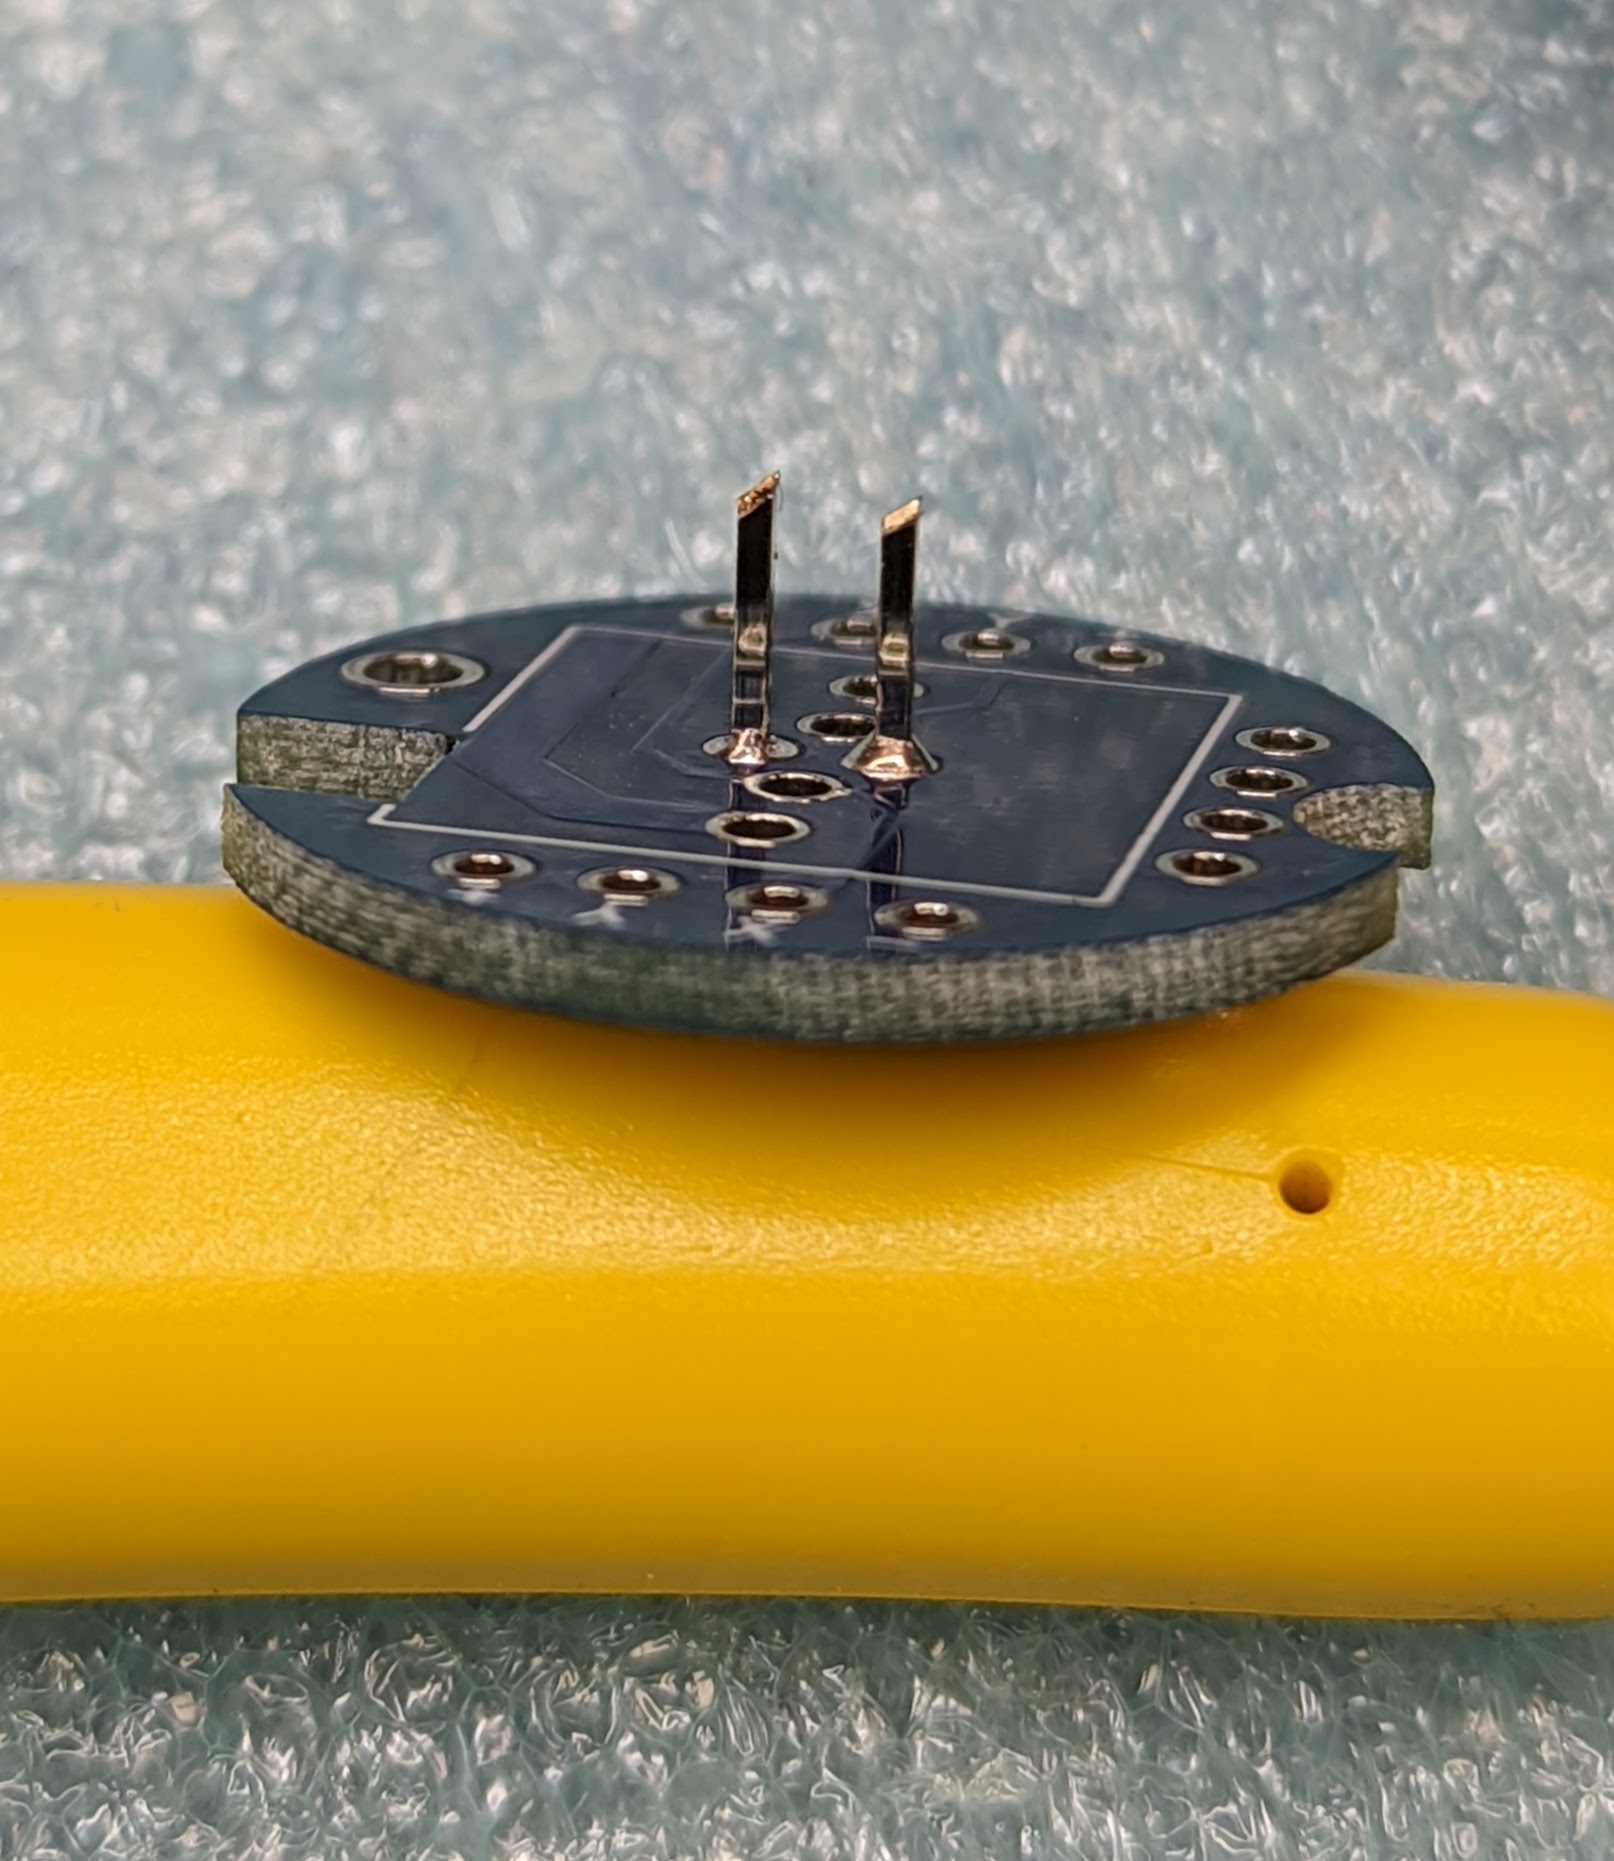
Use flush cutters to break off two 2-pin segments from the strip of male headers. Solder them to the PDBs as shown in the photos below. Please make sure you to use correct holes and put the headers on the correct side of the PDB - consult the photos below!!


Use pliers to remove the plastic spacers from the headers. Use flush cutters to trim the headers to 5-6mm length (you need not be precise; slightly longer or shorter is fine), making cuts at 45 degree angle to create sharp points - they will be useful later for pressing the PDBs into the wood dowels.
Find the first battery wire harness (28cm, 4 wire).

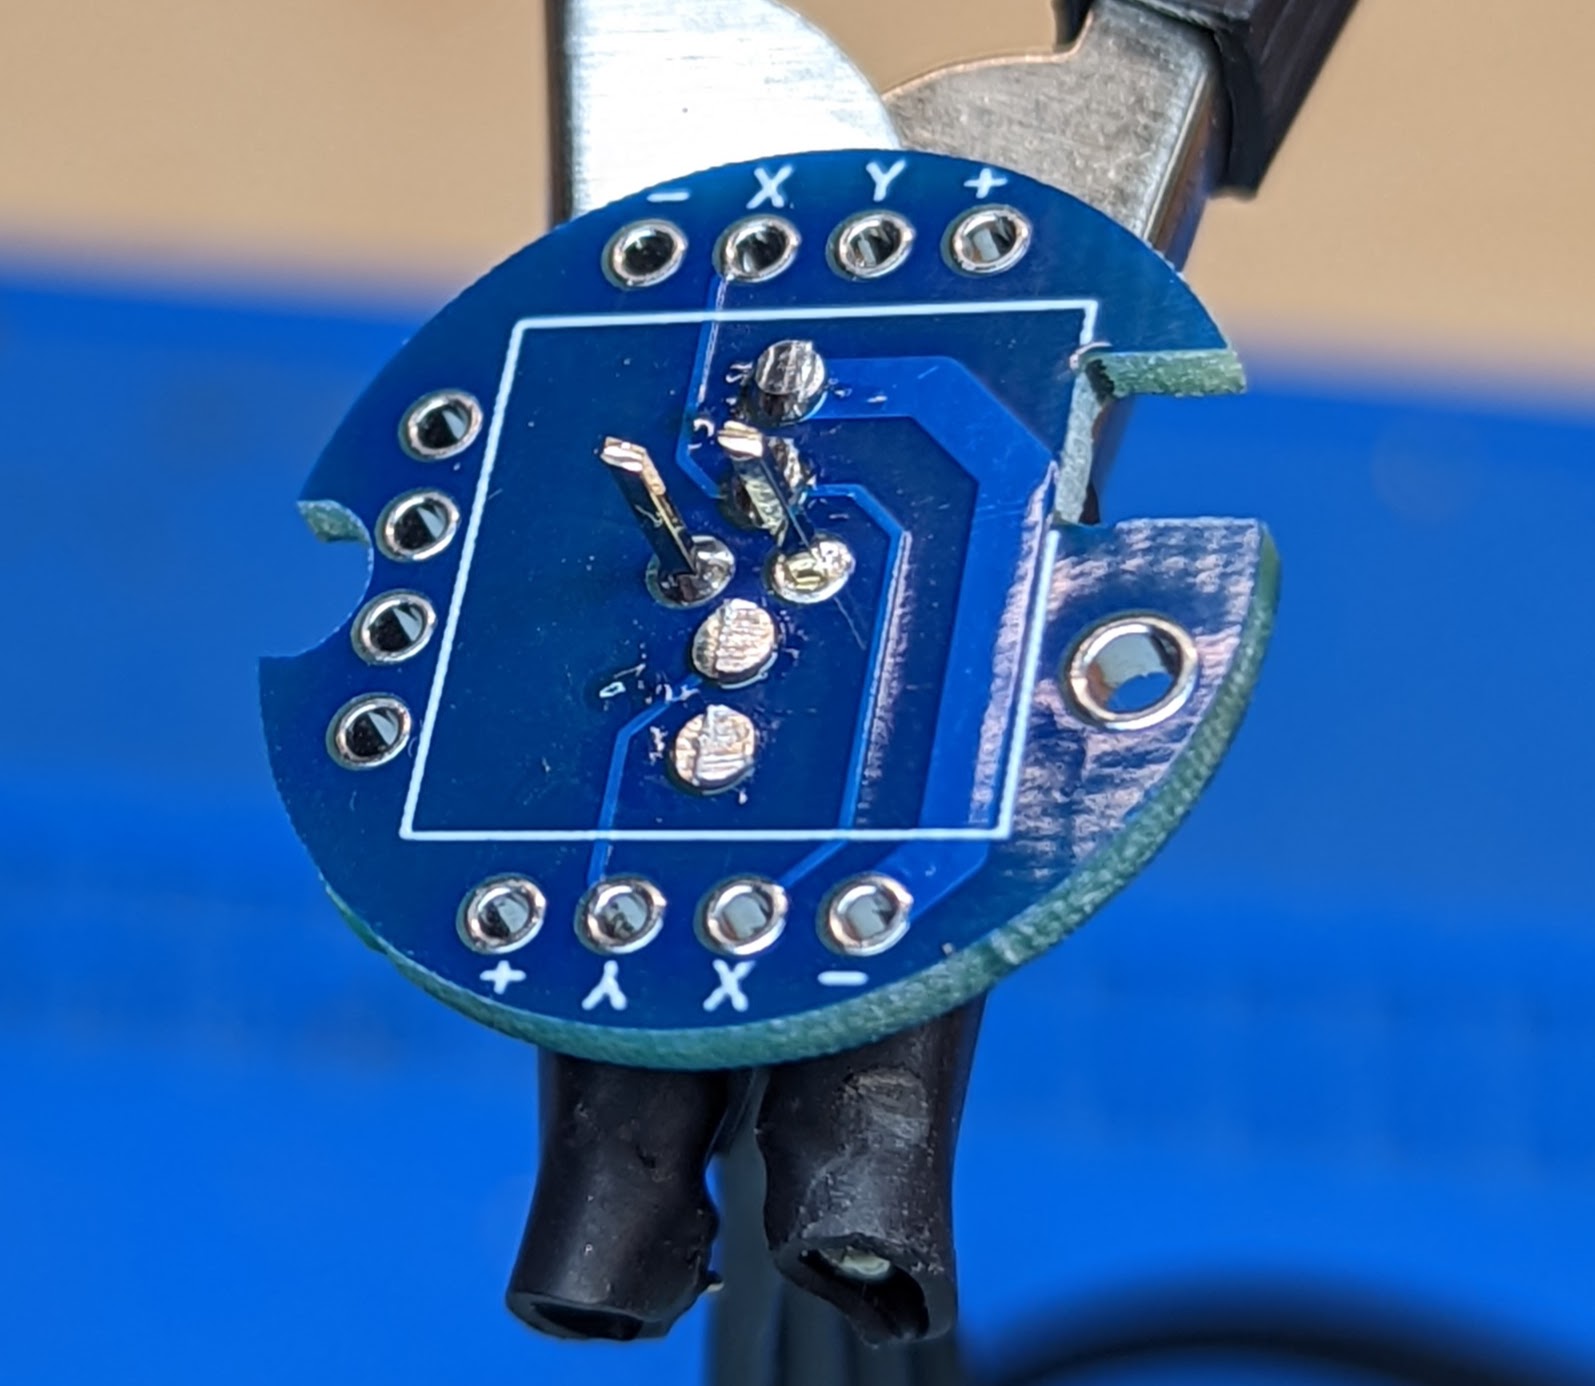
Insert the 4 tinned ends of the wire harness into the holes of the PDB as shown below. You must be inserting from the side with label PDB-A (or PDB-B). The wire with white stripe should go into the hole under the + sign as shown in the photo below.
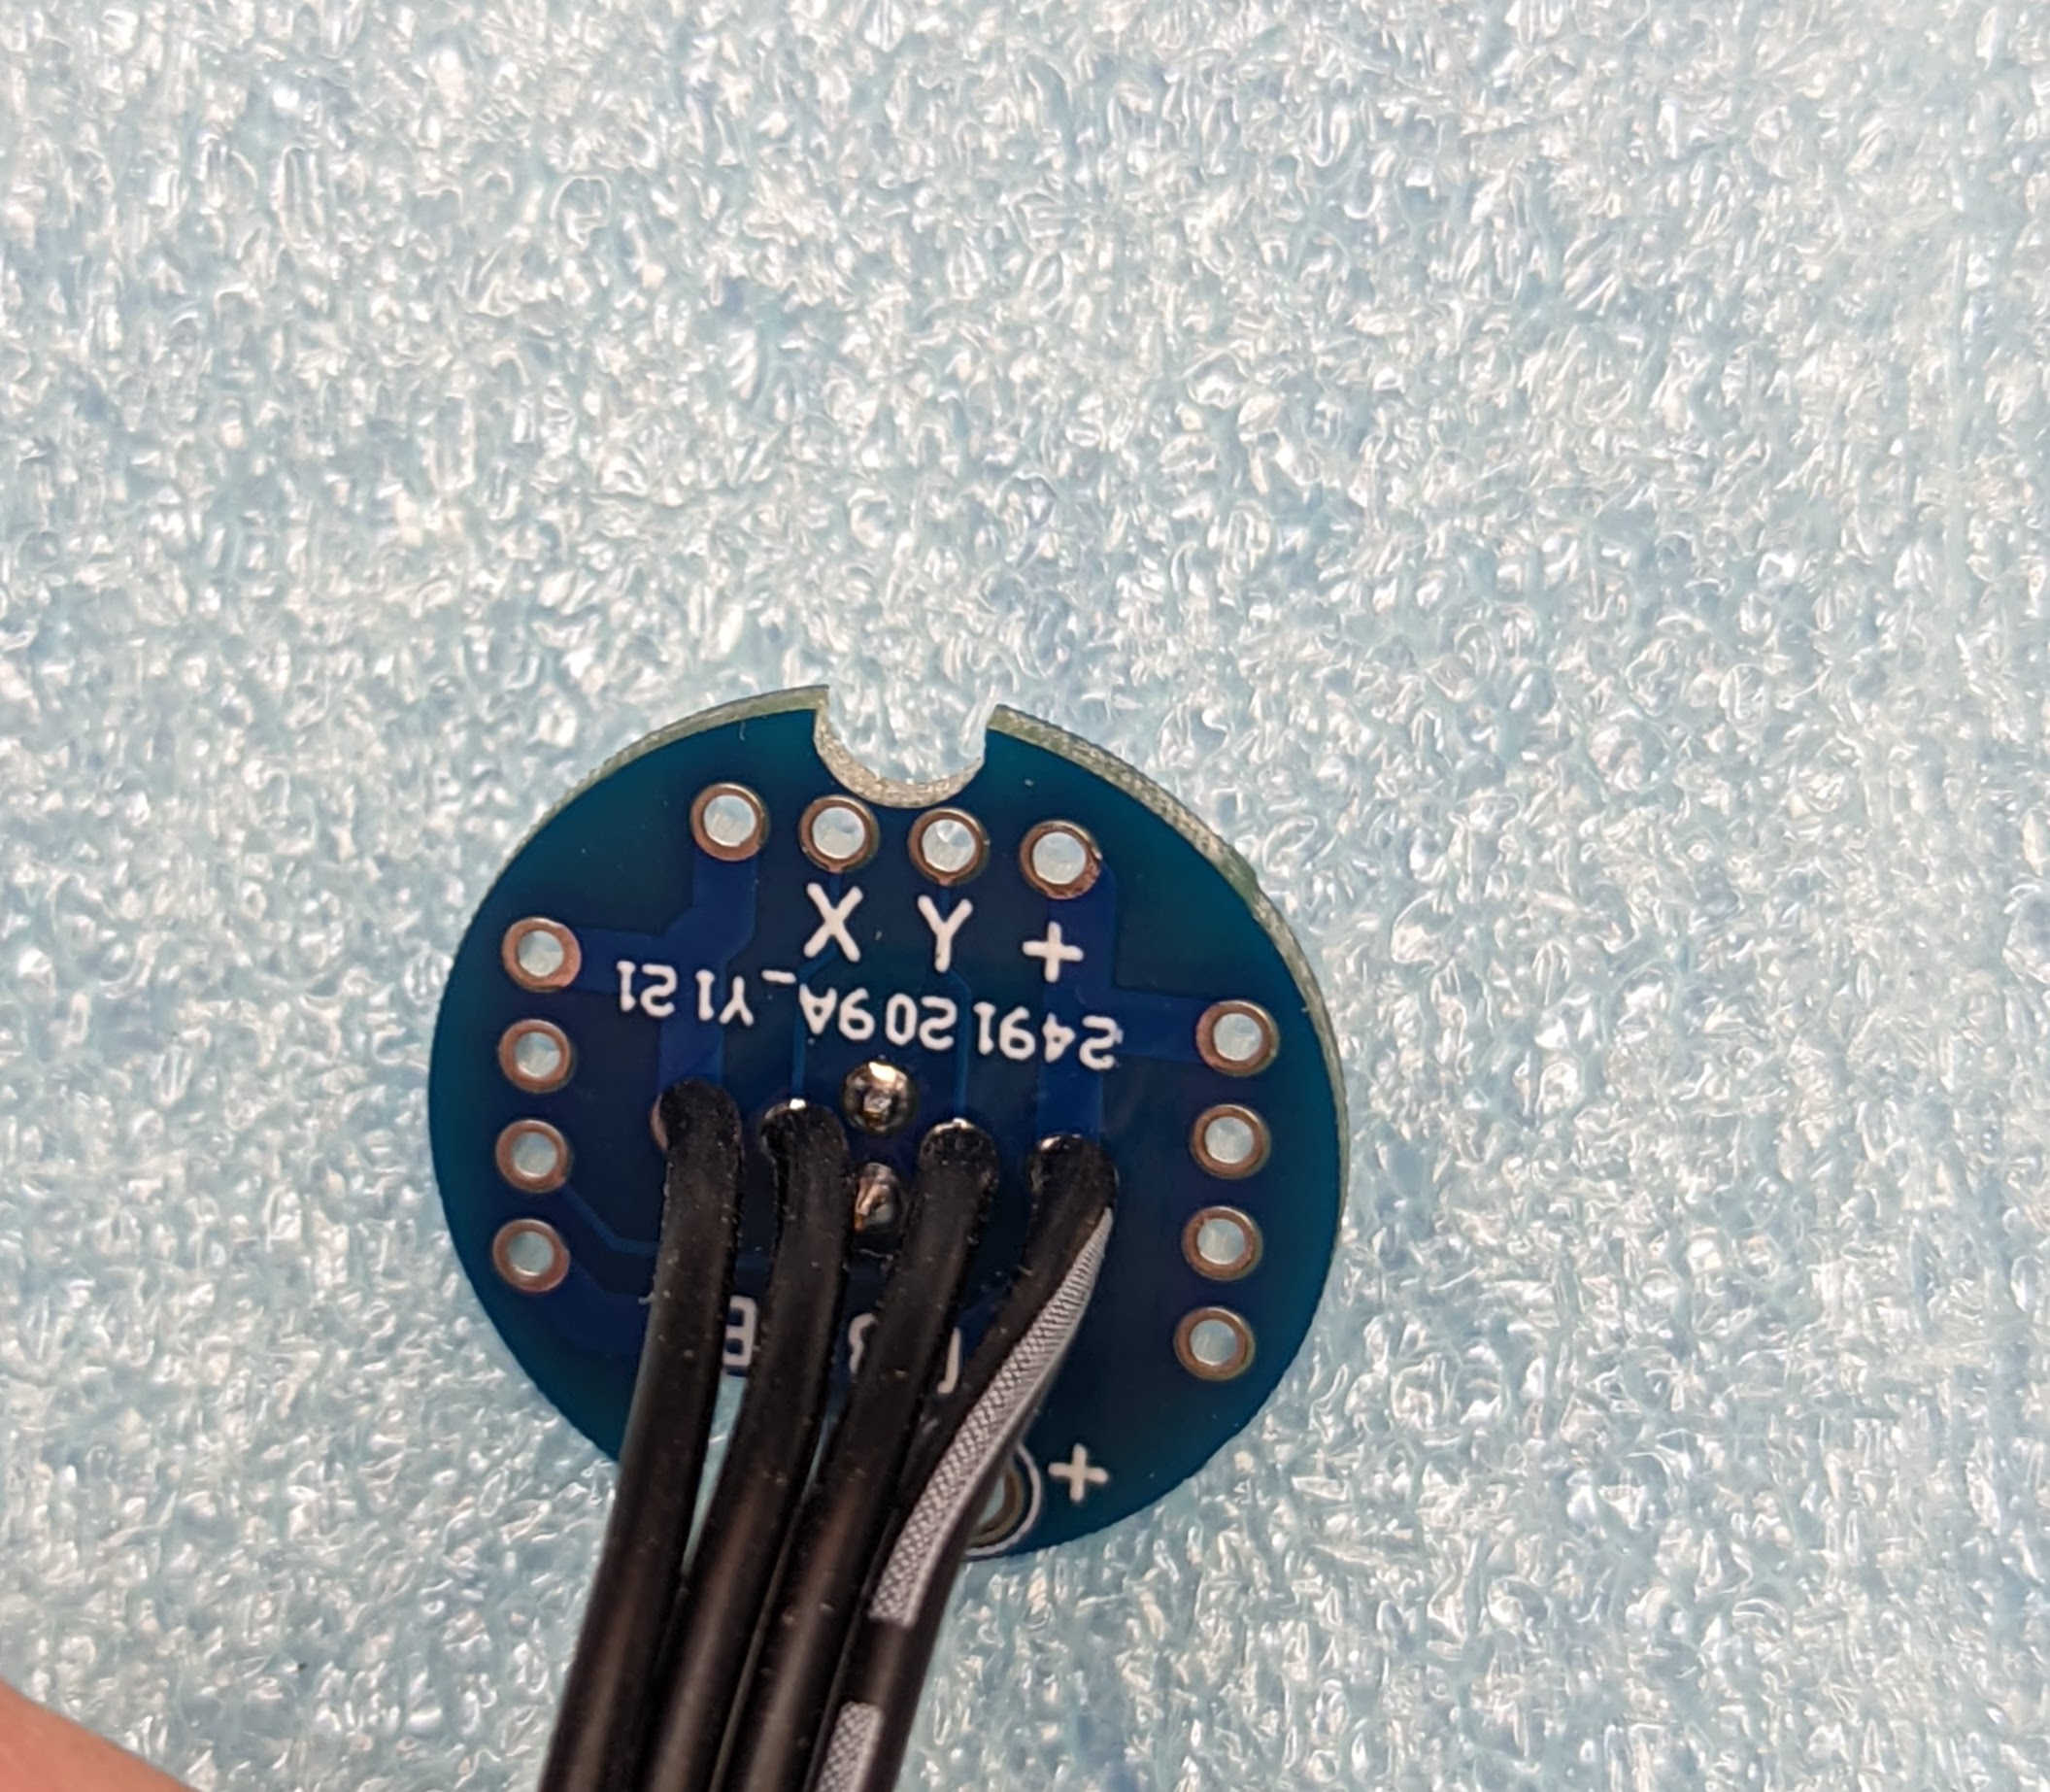
Solder the wires from the opposite side. Use flush cutters to trim protruding wires flush with the PCB. Repeat the same with the second PDB.
Solder the two wire leads from the wire harness to negative (-) terminal of each battery. Follow instructions on this page for soldering. Tip: an easy way to keep the battery vertical while soldering is by using the clamp as shown in the photo below.
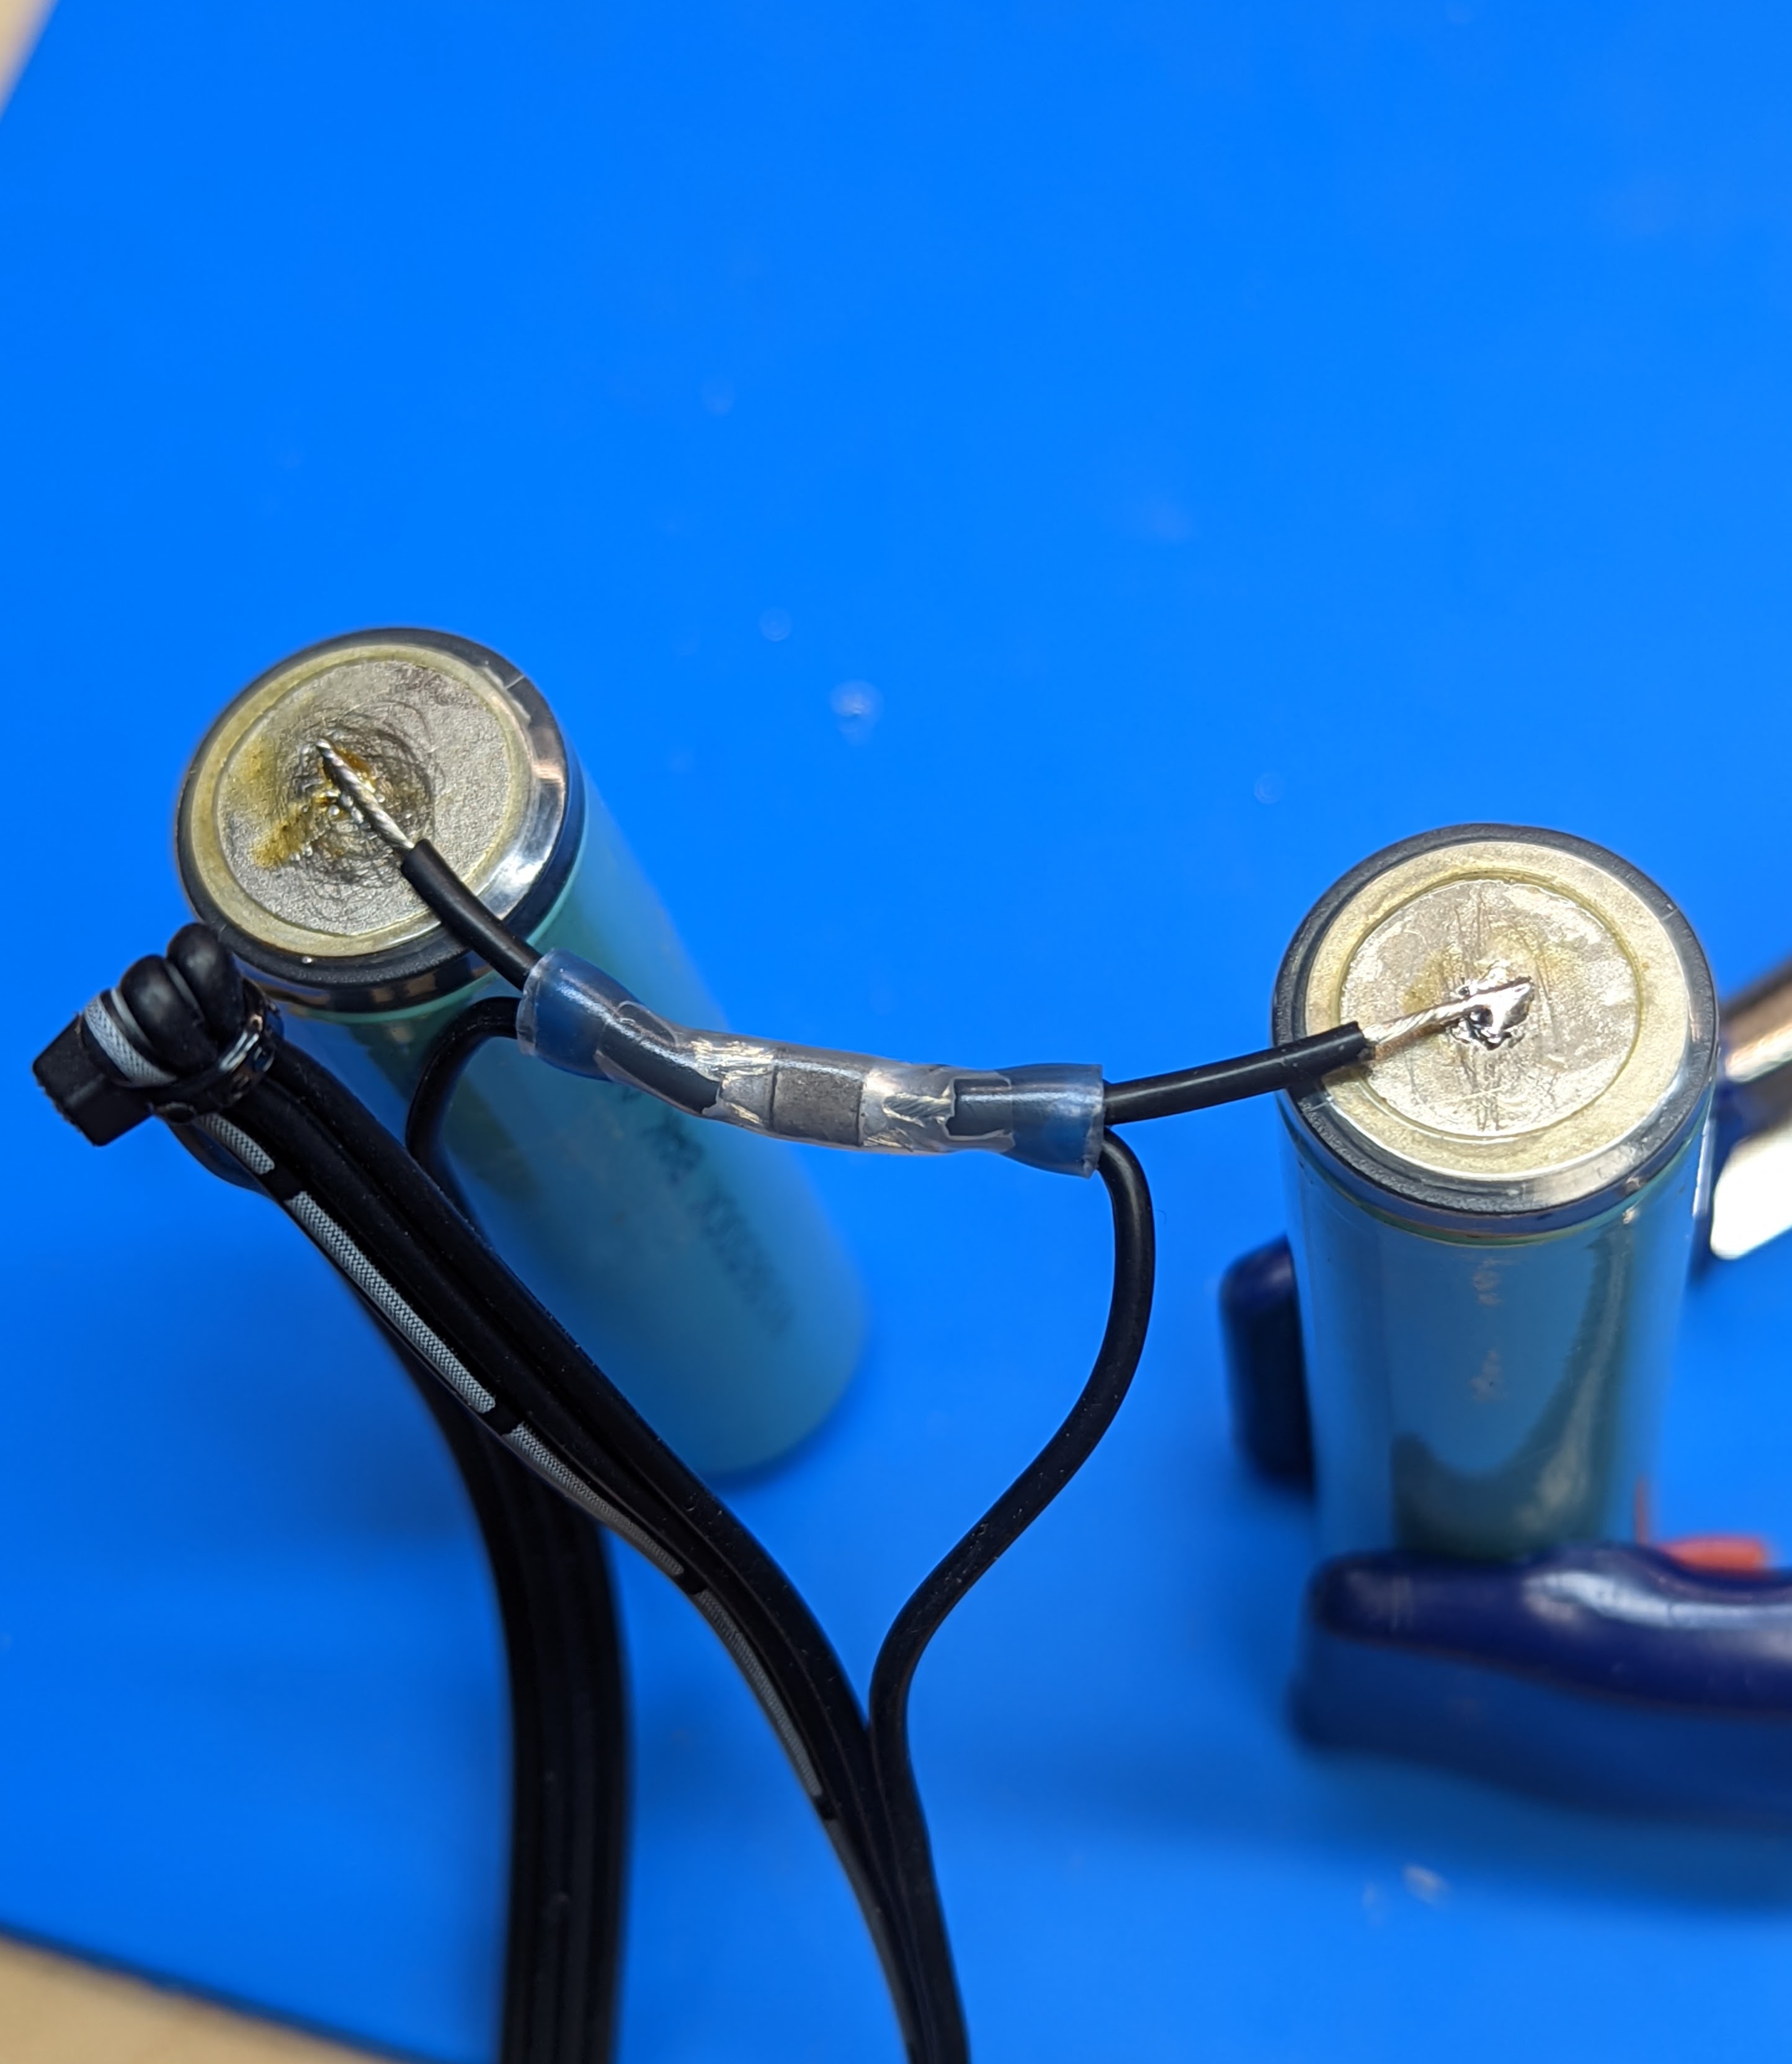
Turn the batteries over, with the positive terminal up. Use voltmeter to check the voltage difference between the positive terminals of the two batteries. If it is more than 0.1V, find a low ommage resistor (1 Ohm or about); press and hold it against the two positive terminals, to equalize the voltage.
Find the second battery wire harness with switch leads (uses red wire).
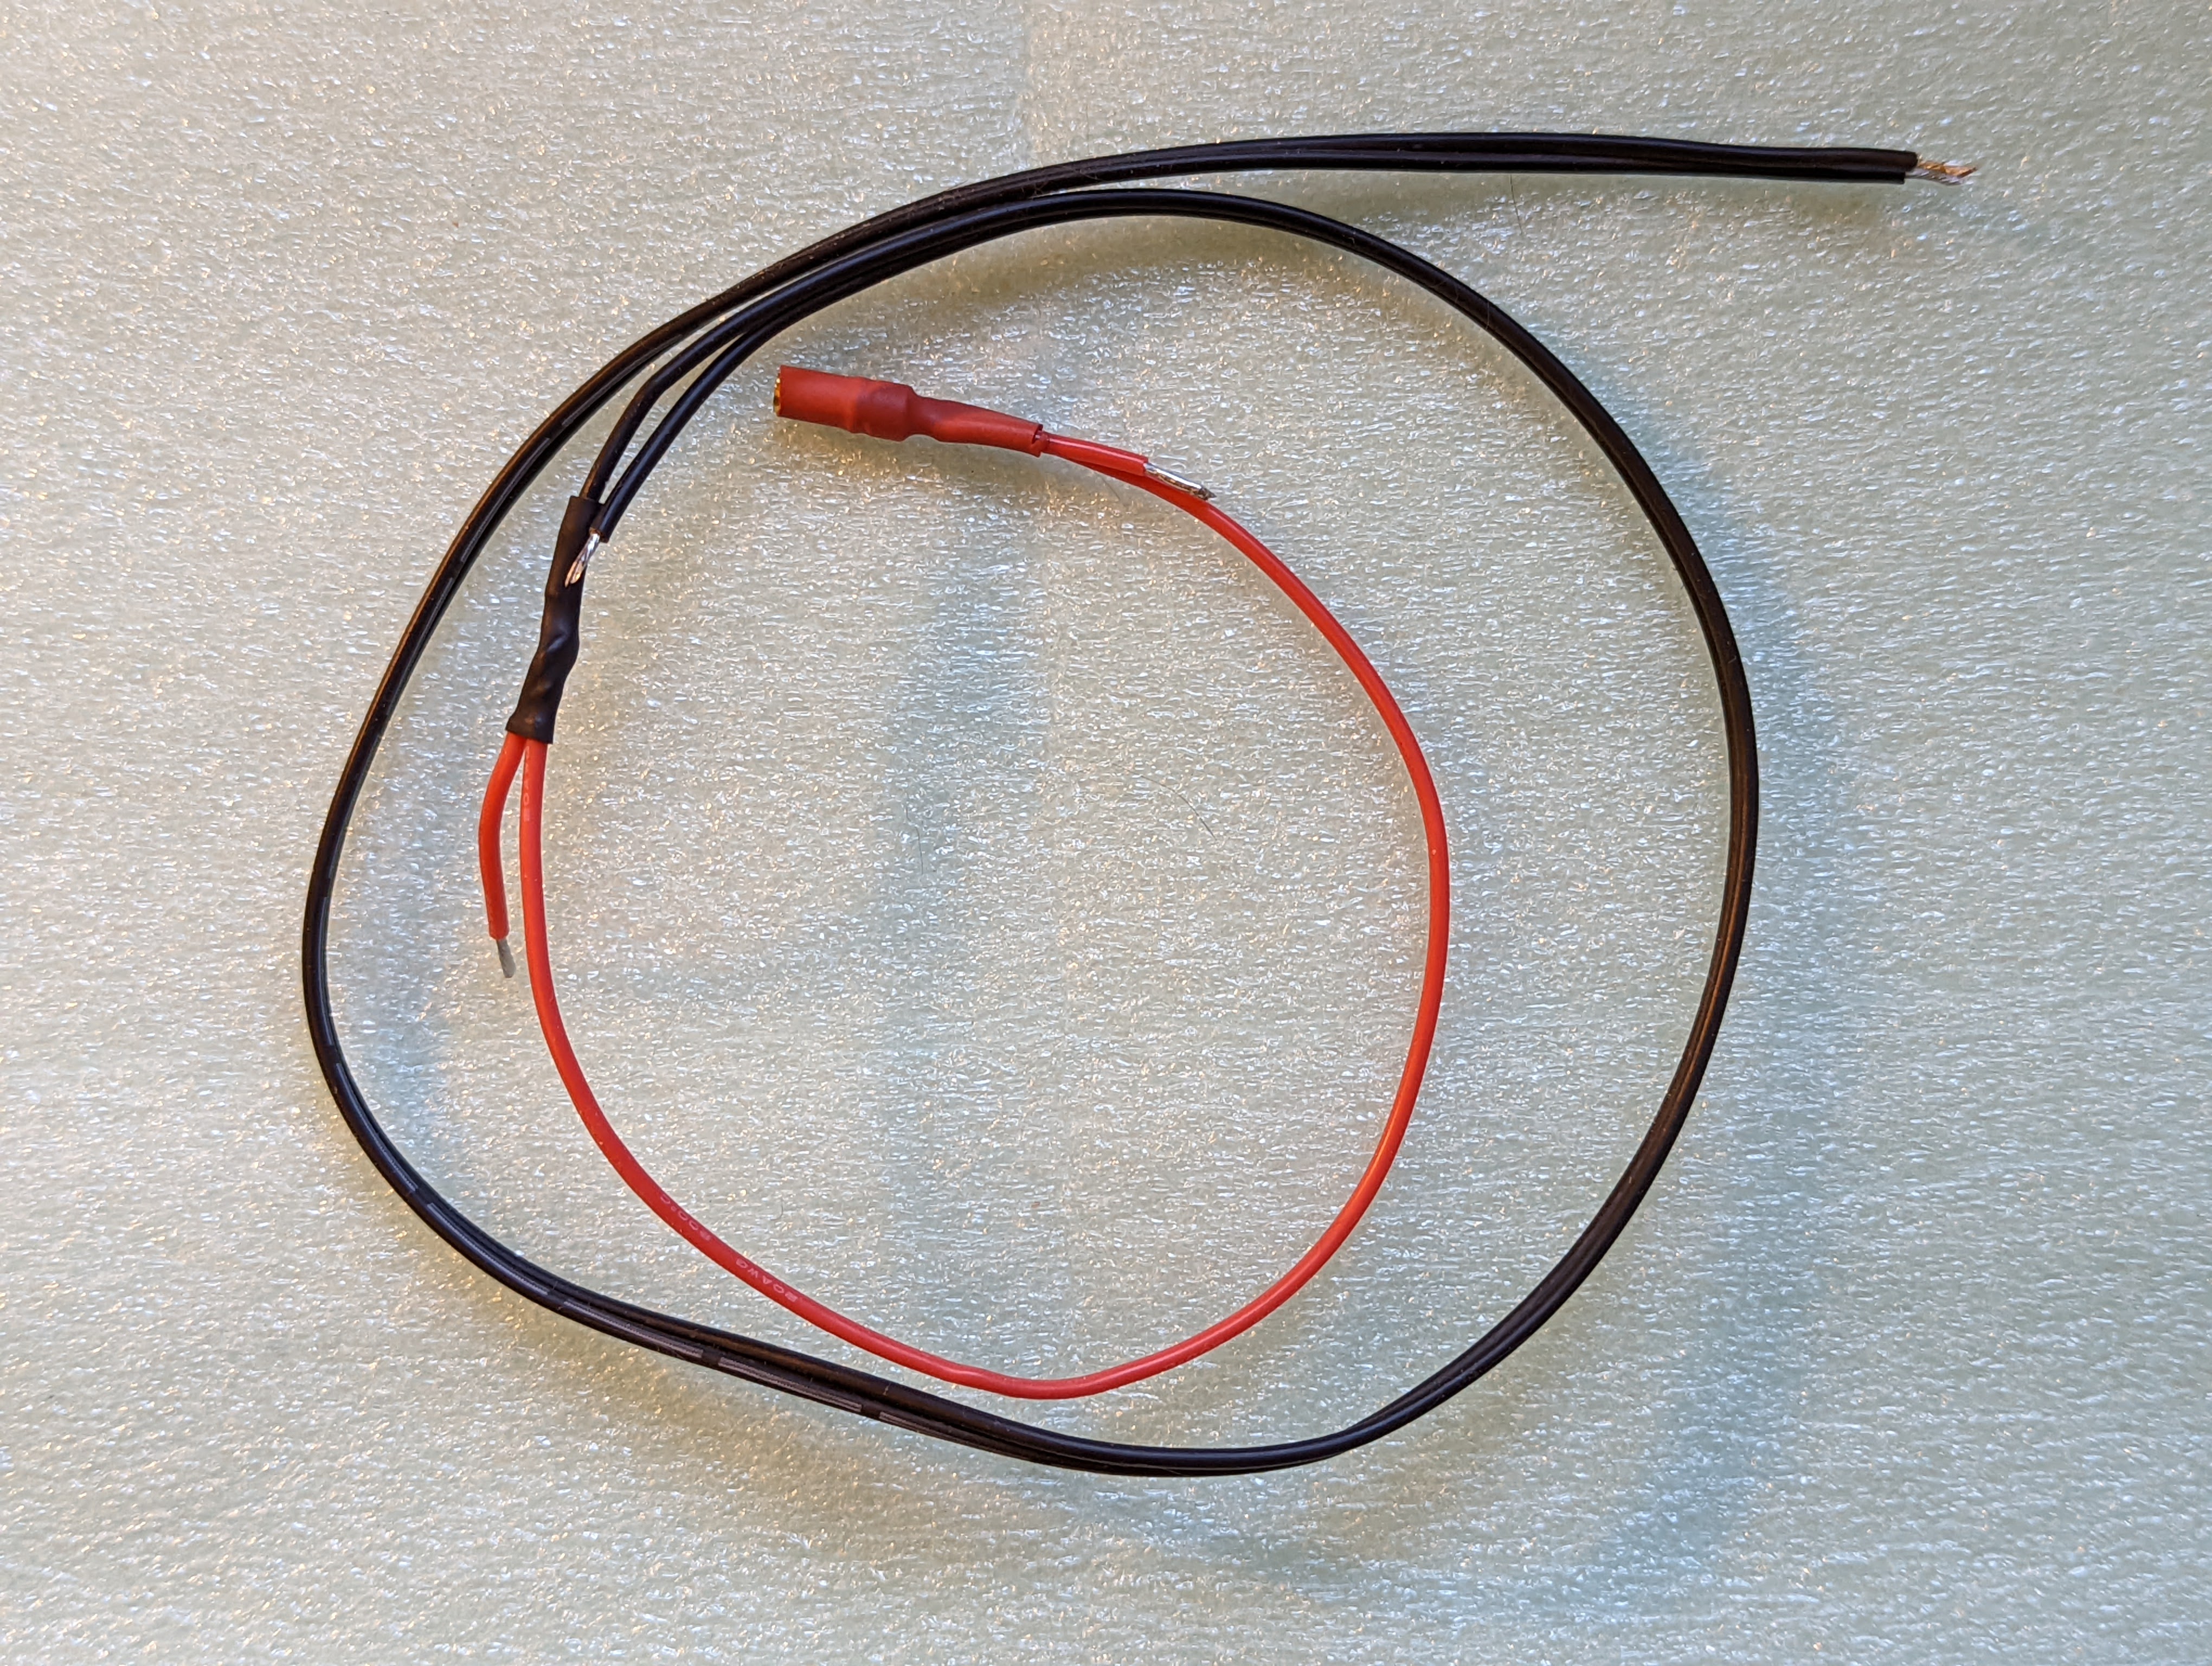
Solder the two red leads to positive terminals of the batteries. Make sure the direction they are pointing is same as the direction of the black leads on the negative terminal.
Arrange the two batteries in line, placing the spacer between them. (Use the spacer with partly covered top and bottom). Carefully straighten the wires along the surface of the batteries, making sure they do not cross. Use electric tape to temporarily attach the wires to the batteries. Make sure that the distance between each PDB and the battery allows you to insert the remaining spacers.
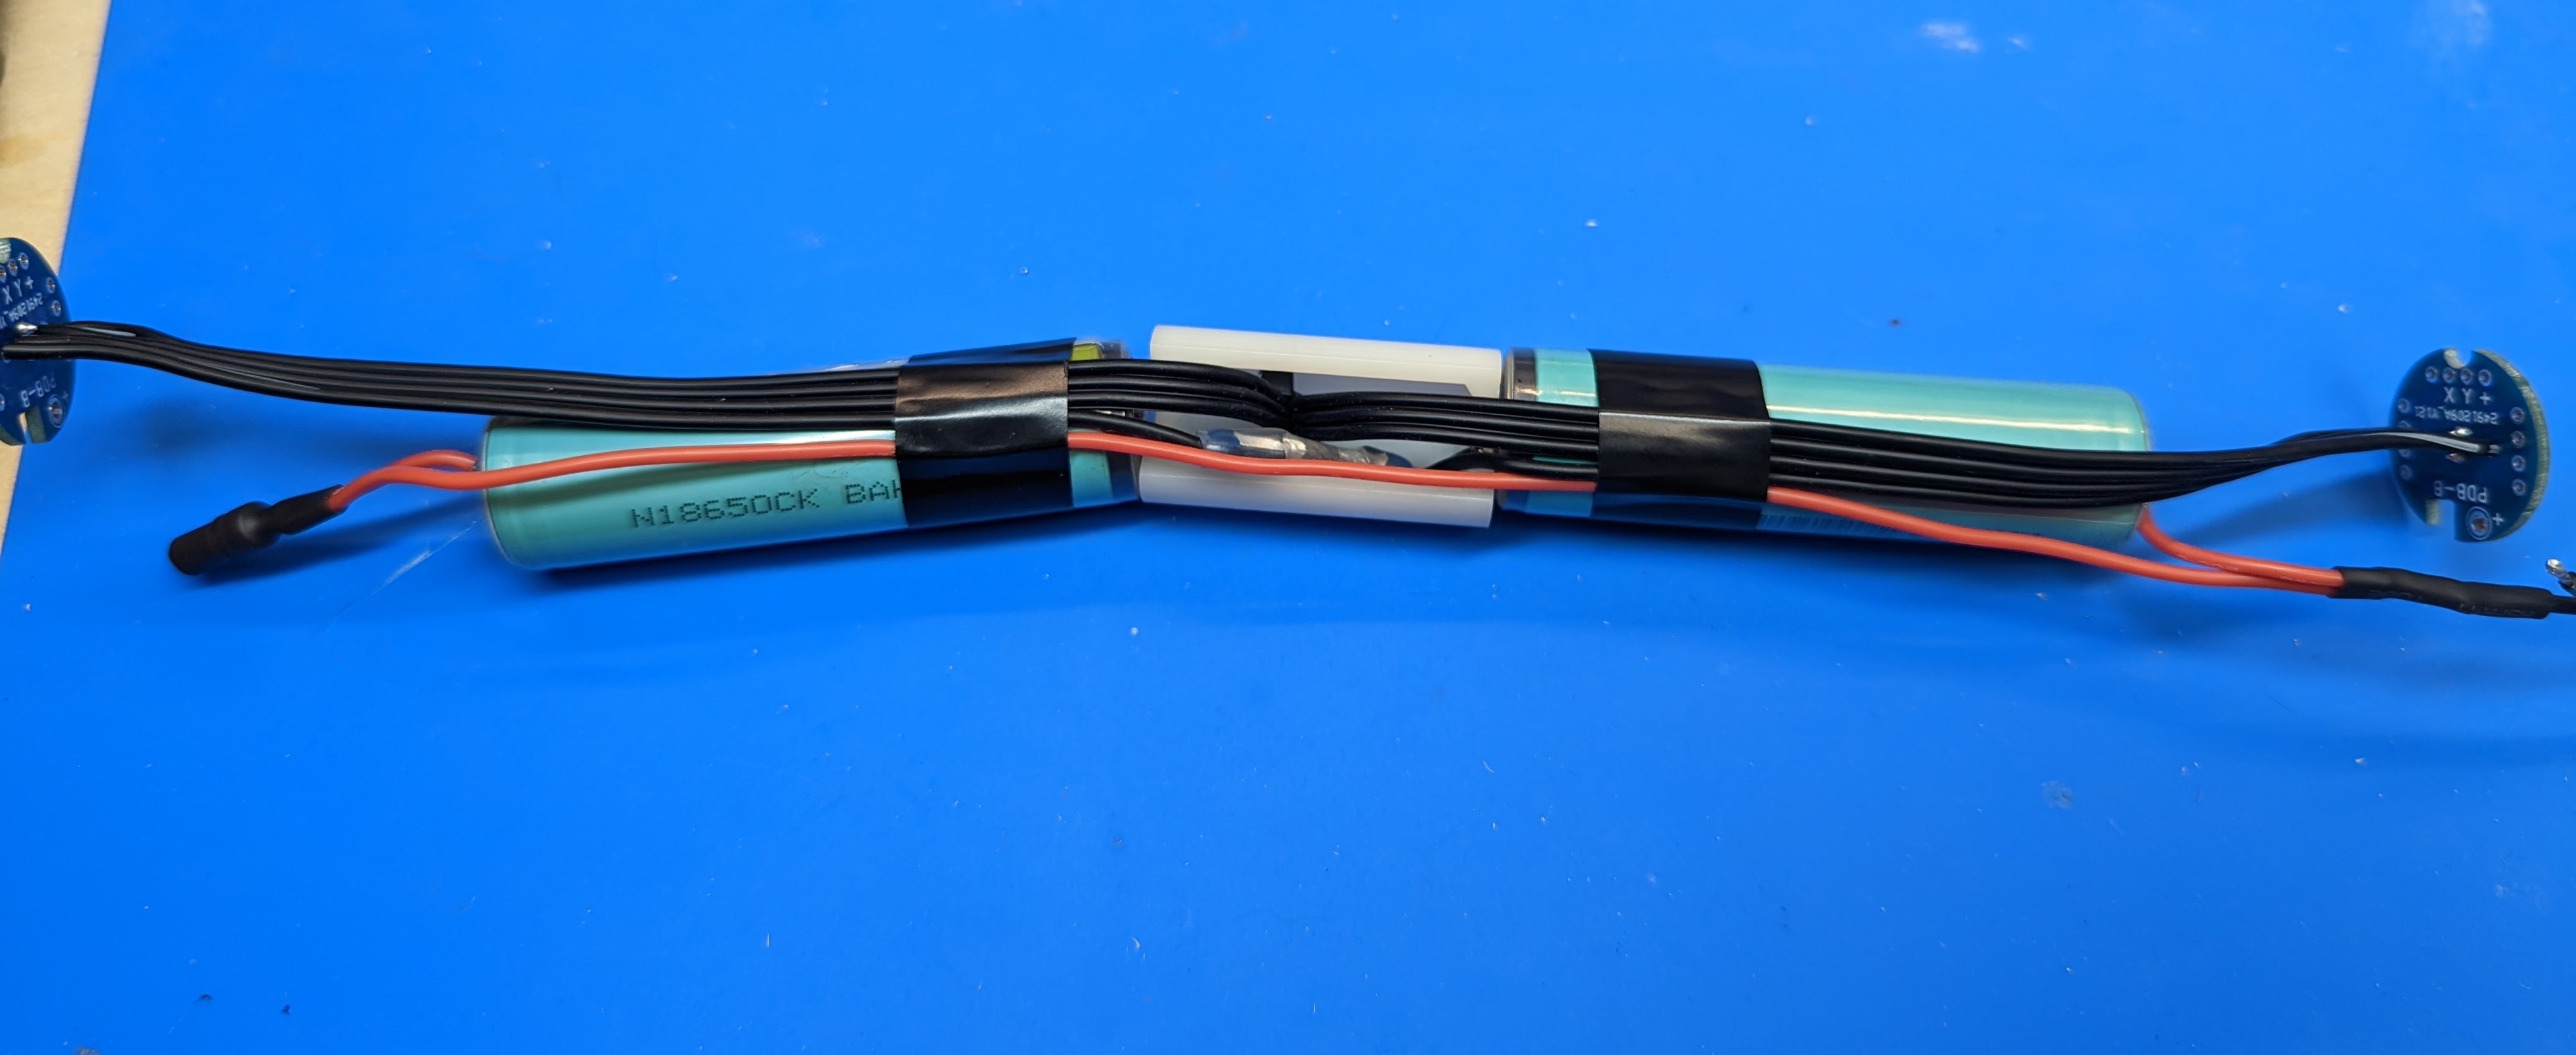
Take the piece of the large diameter shrink wrap and put it over the middle section of battery assembly. Push the batteries and spacer tightly together, being careful not to pinch any wires. Use the heat gun at low temperature setting to shrink the large shrink wrap.

This completes the battery assembly. The side with long 2-wire leads is the switch side; the opposite side (with the bullet connector) is the controller side.