Step 9: Final assembly
Warning: inserting the whole assembly in the tube takes some time, and getting it out is even more time-consuming, so make sure you test the staff before going further!
Turn the staff off. Lay out the whole assembly (controller, LED assembly, battery assembly, second LED assembly, switch) in line.
Insert the spacers on both sides of the battery assembly fitting the wires inside; the spacers should fit over the battery. Make sure no wires are pinched. Use electric tape to attach the spacers to the batteries.
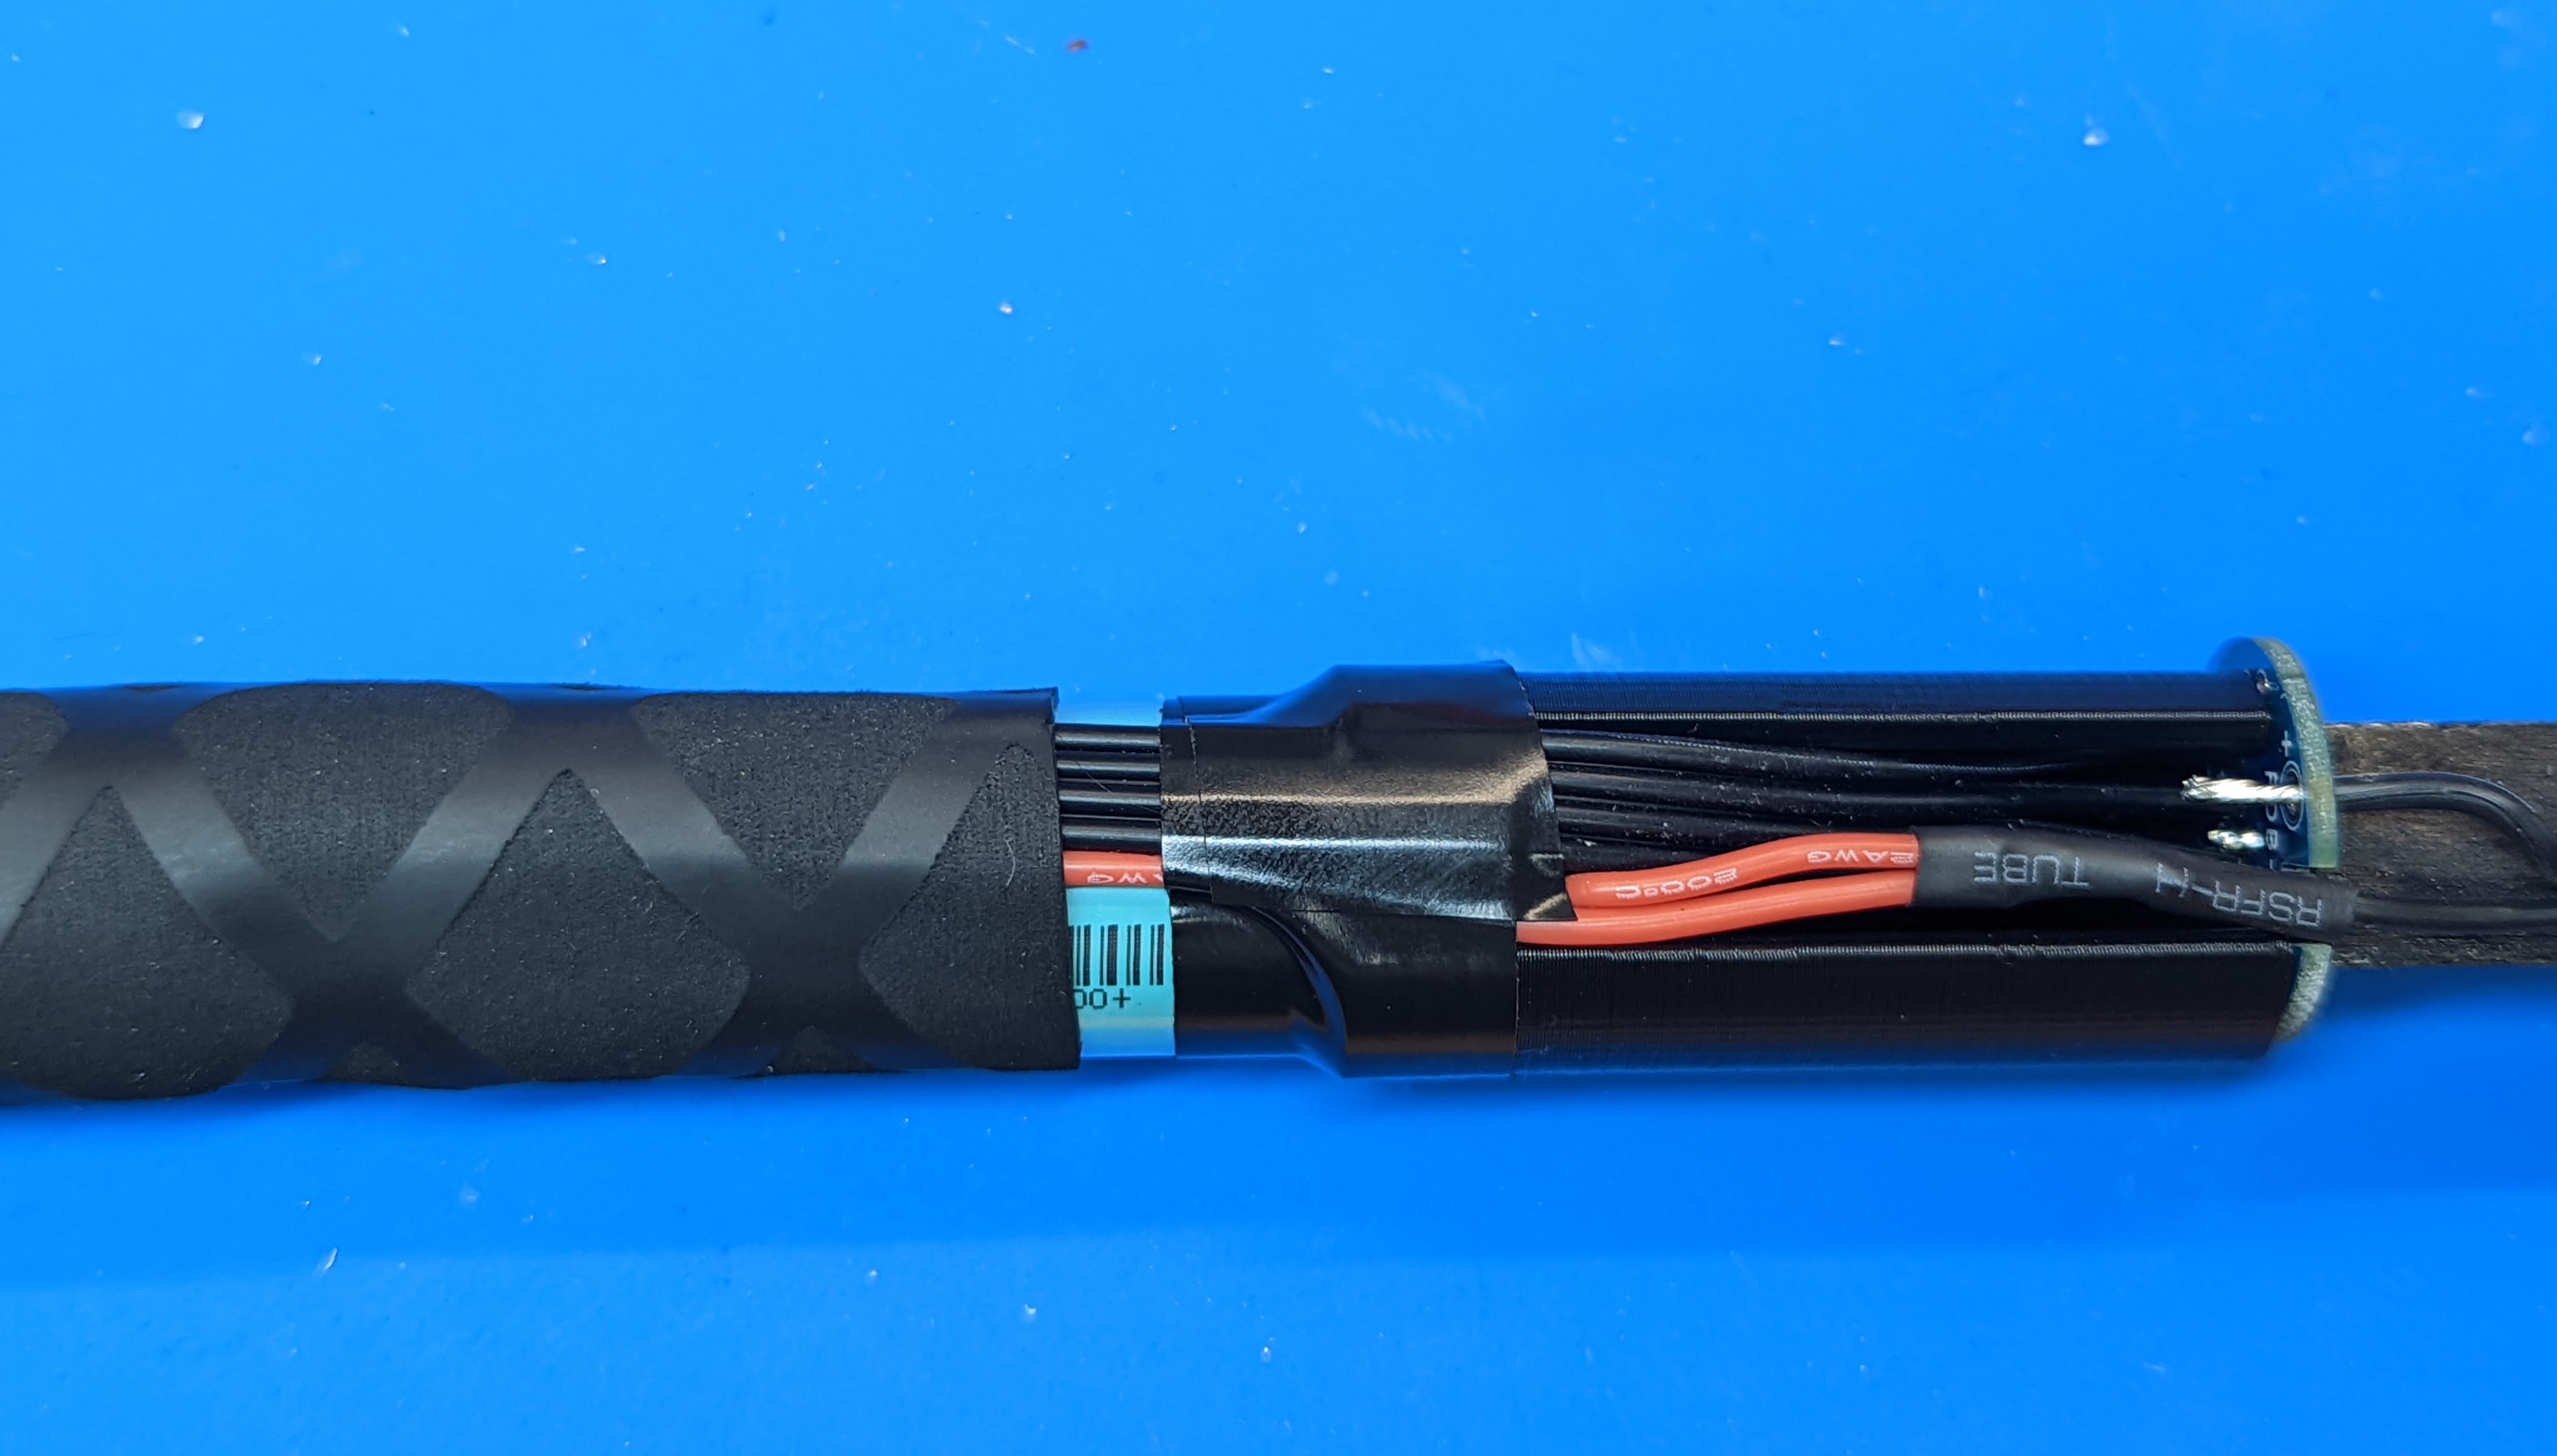
Also, insert the switch spacer between the dowel and switch:

Start inserting the whole assembly into the tube, controller end first. (The switch spacer may fall out; reinsert it just before the switch goes into the tube, paying attention to the wires).
Continue until the assembly is fully in. Push to fully insert the switch. If everything worked as expected, the controller should now be level with the opposite end of the tube or several millimeters inside the tube. In the latter case, you can cut another 18mm foam circle and place in on top of the controller cover.
Cover the controller end of the tube with the PVC cap.
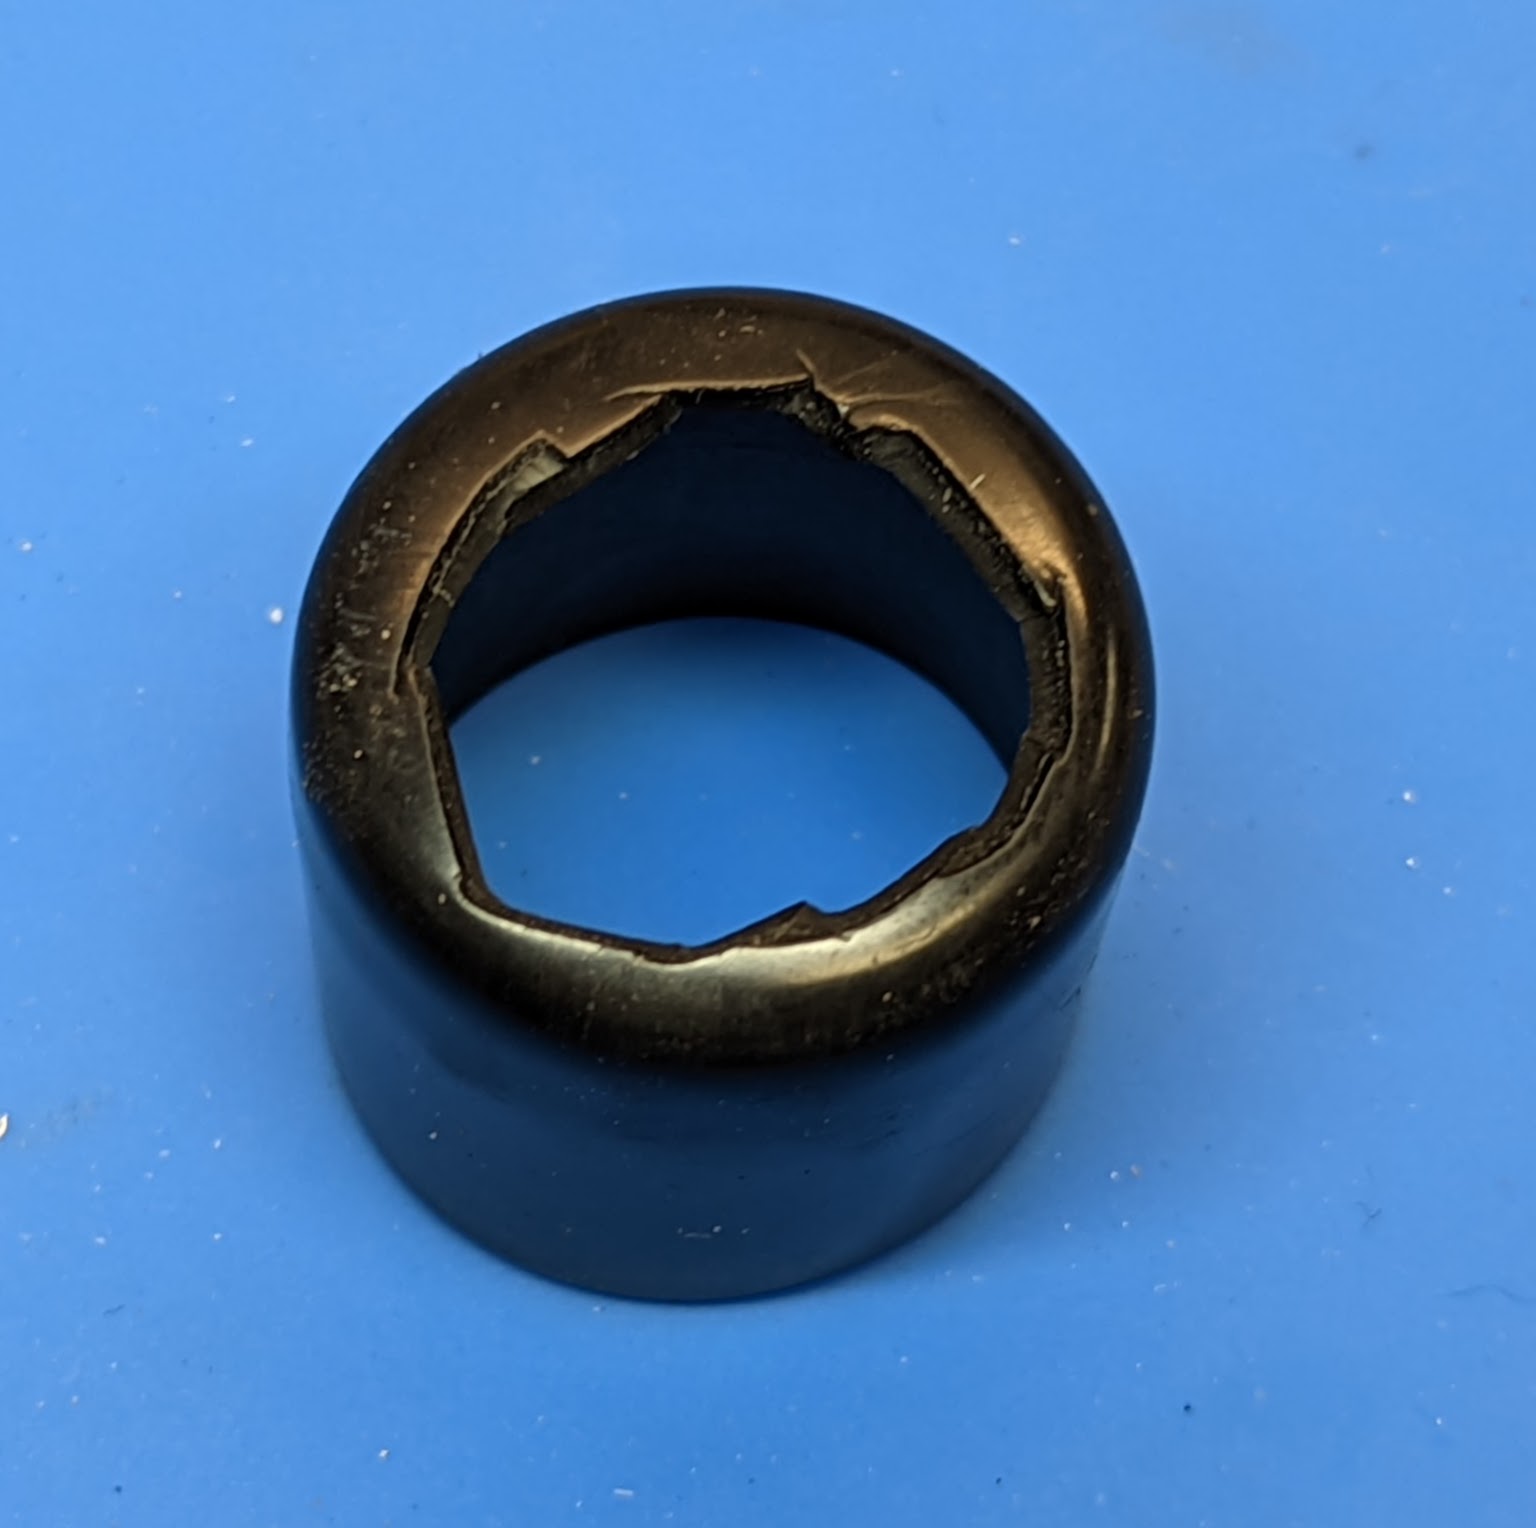
Take the other PVC cap; use scissors or model knife to cut a circle (about 15mm) in it. Insert the switch spacer into the cap, with the angled side facing out. Use this assembly to cover the switch end of the tube. (The spacer prevent the switch from turning off if you drop the staff.)


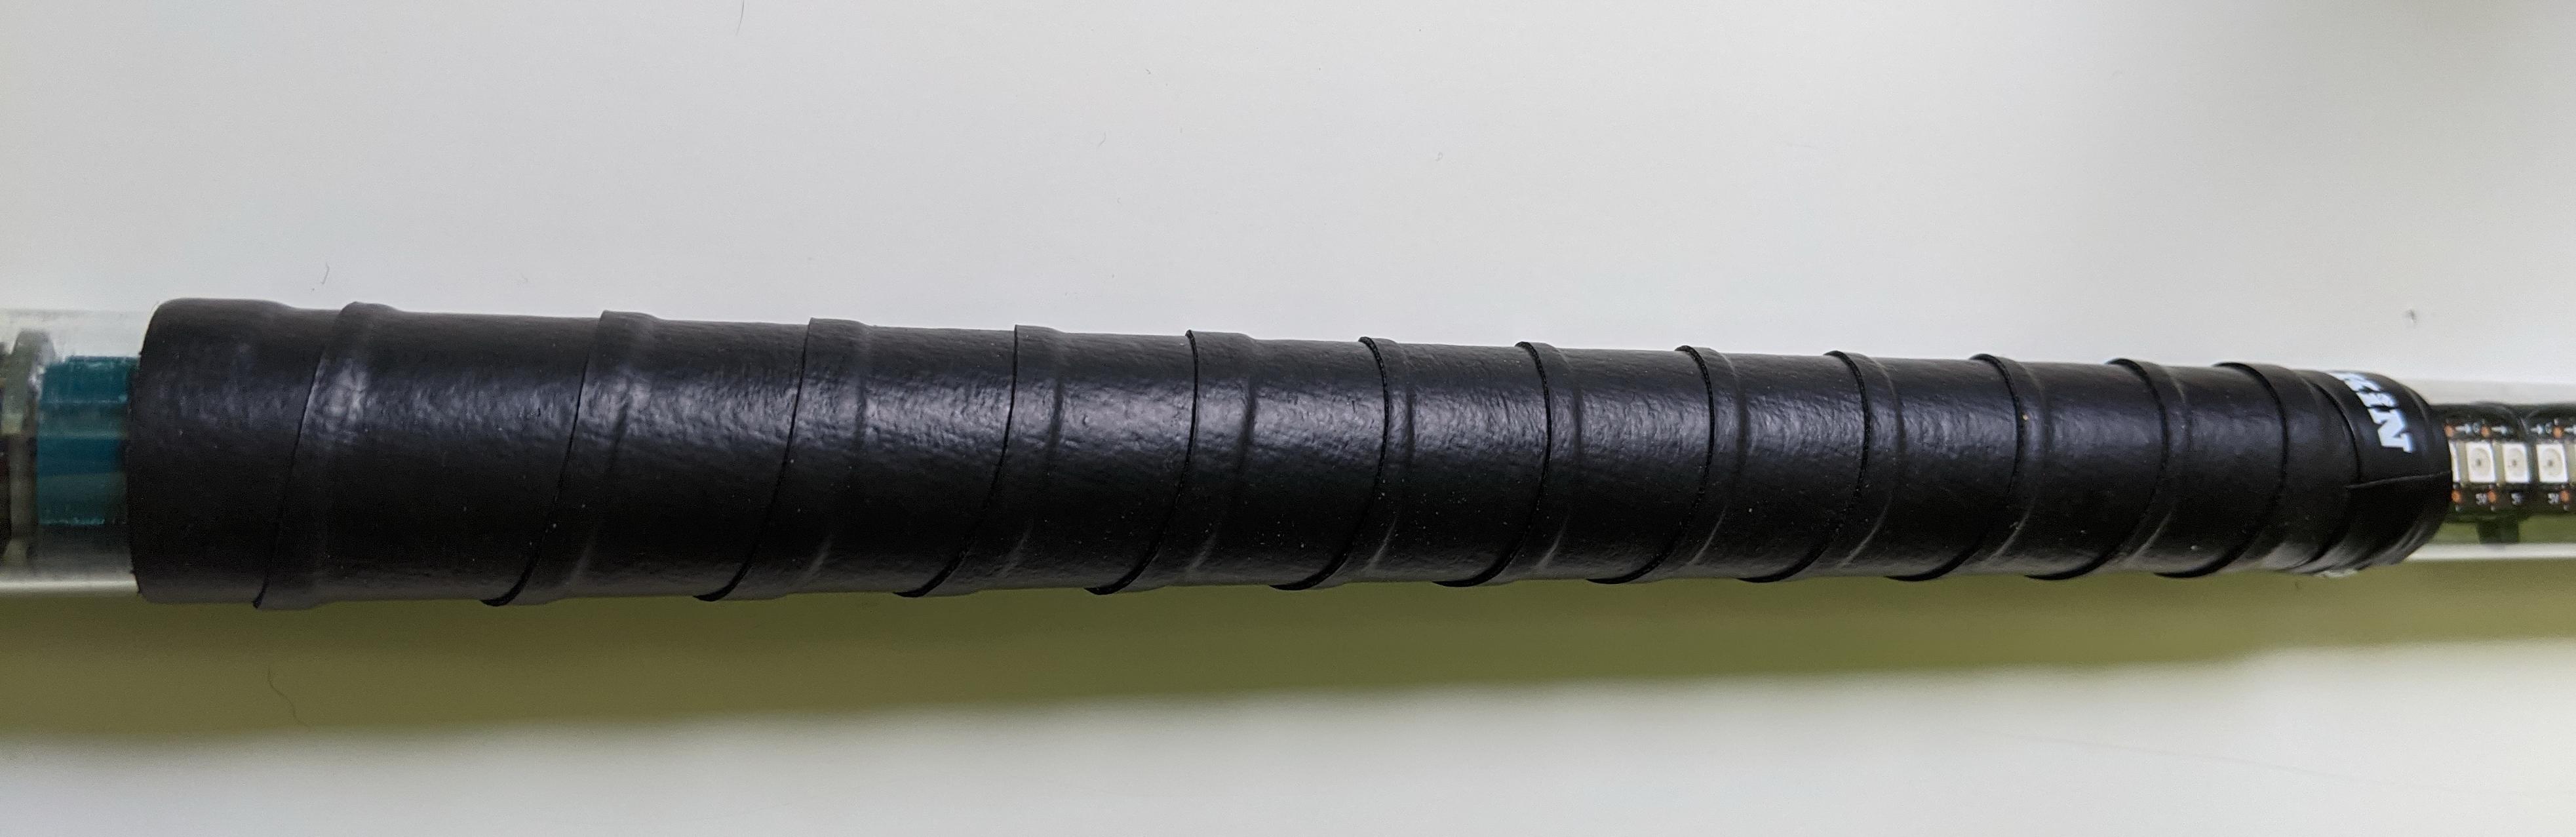
Apply the tennis overgrip tape over the middle part of the tube, containing the battery assembly and spacers -everything between the Power Distribution Boards. You can watch this video to see the proper way of applying the overgrip tape: https://www.youtube.com/watch?v=HNc34XlUBww. Make sure to keep the overlaps between tape turns small - if you make them too large, your tape will run out before you reach the end of battery assembly.
This completes your staff assembly - congratulations!!
Please check the User Guide for instructions on using your staff.
