Step 9: Battery and controller assembly
Disconnect the batteries from the boards. Do not pull on the wires; instead, grab the plastic connector and pull it out (it takes some effort). Set the batteries aside for now.
Take the 3d printed spacers left in bag D. You should have one spacer that goes between the batteries, two spacers that go onto the ends of batteries, and 2 small “plugs”. Make sure you have them all.
Take QT Py microcontroller with the POV shield, a plug and one of end battery spacers. Assemble them together, putting the “plug” onto the board and then pushing the whole assembly into the spacer as shown below. Note: the “shelf” on the plug should be facing the white battery connector. Make sure to push it all the way in.
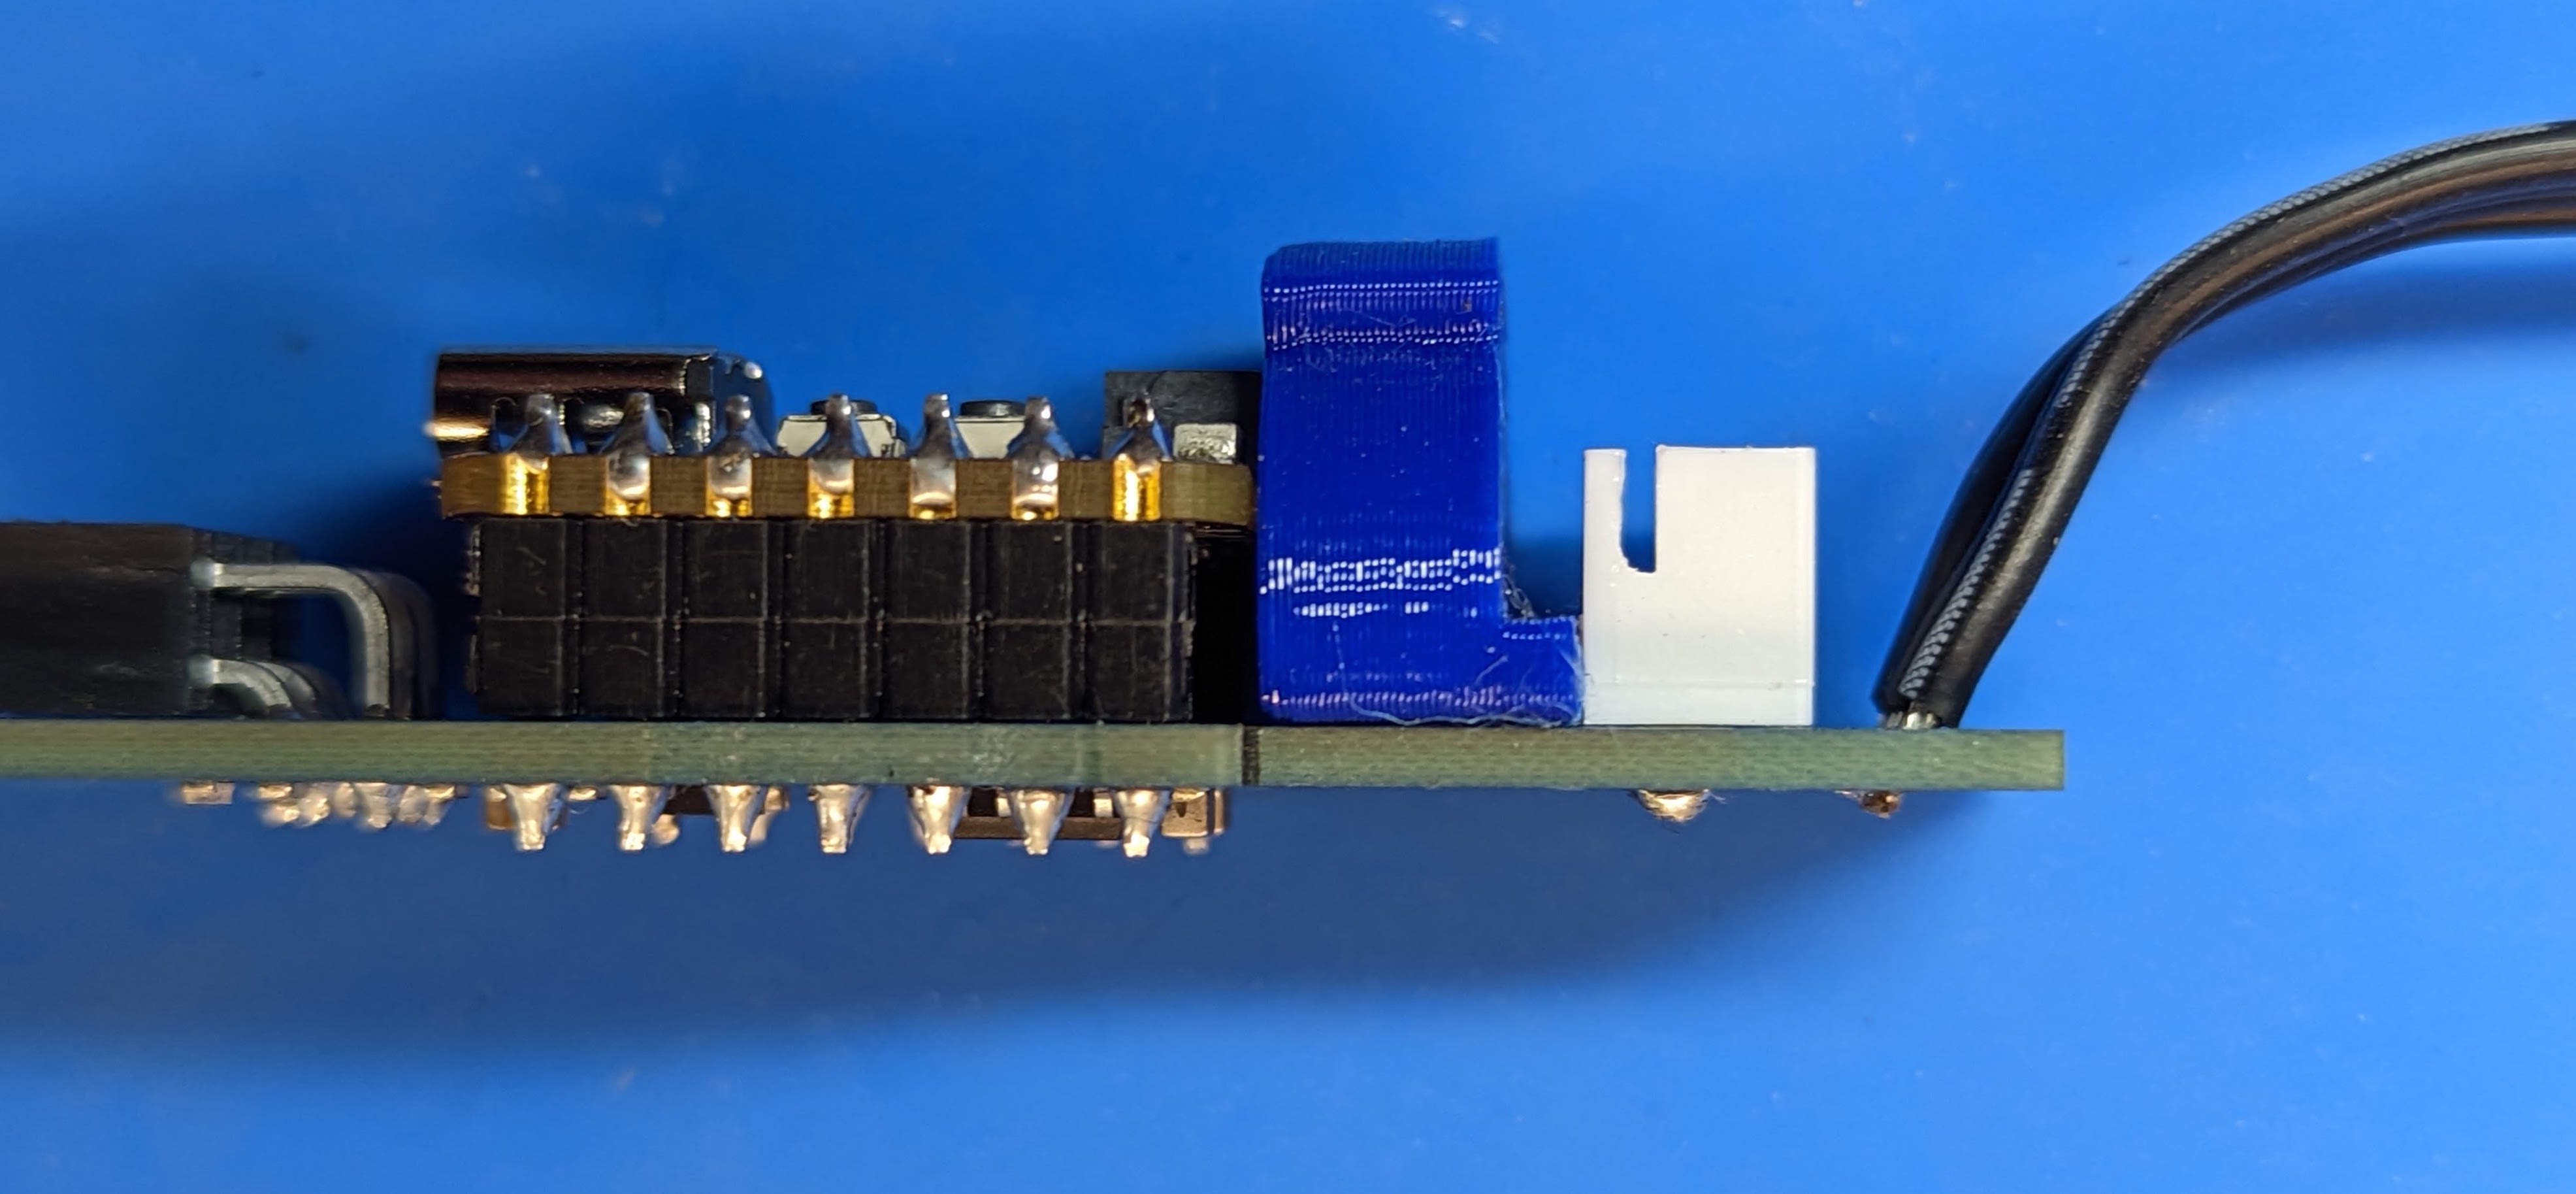
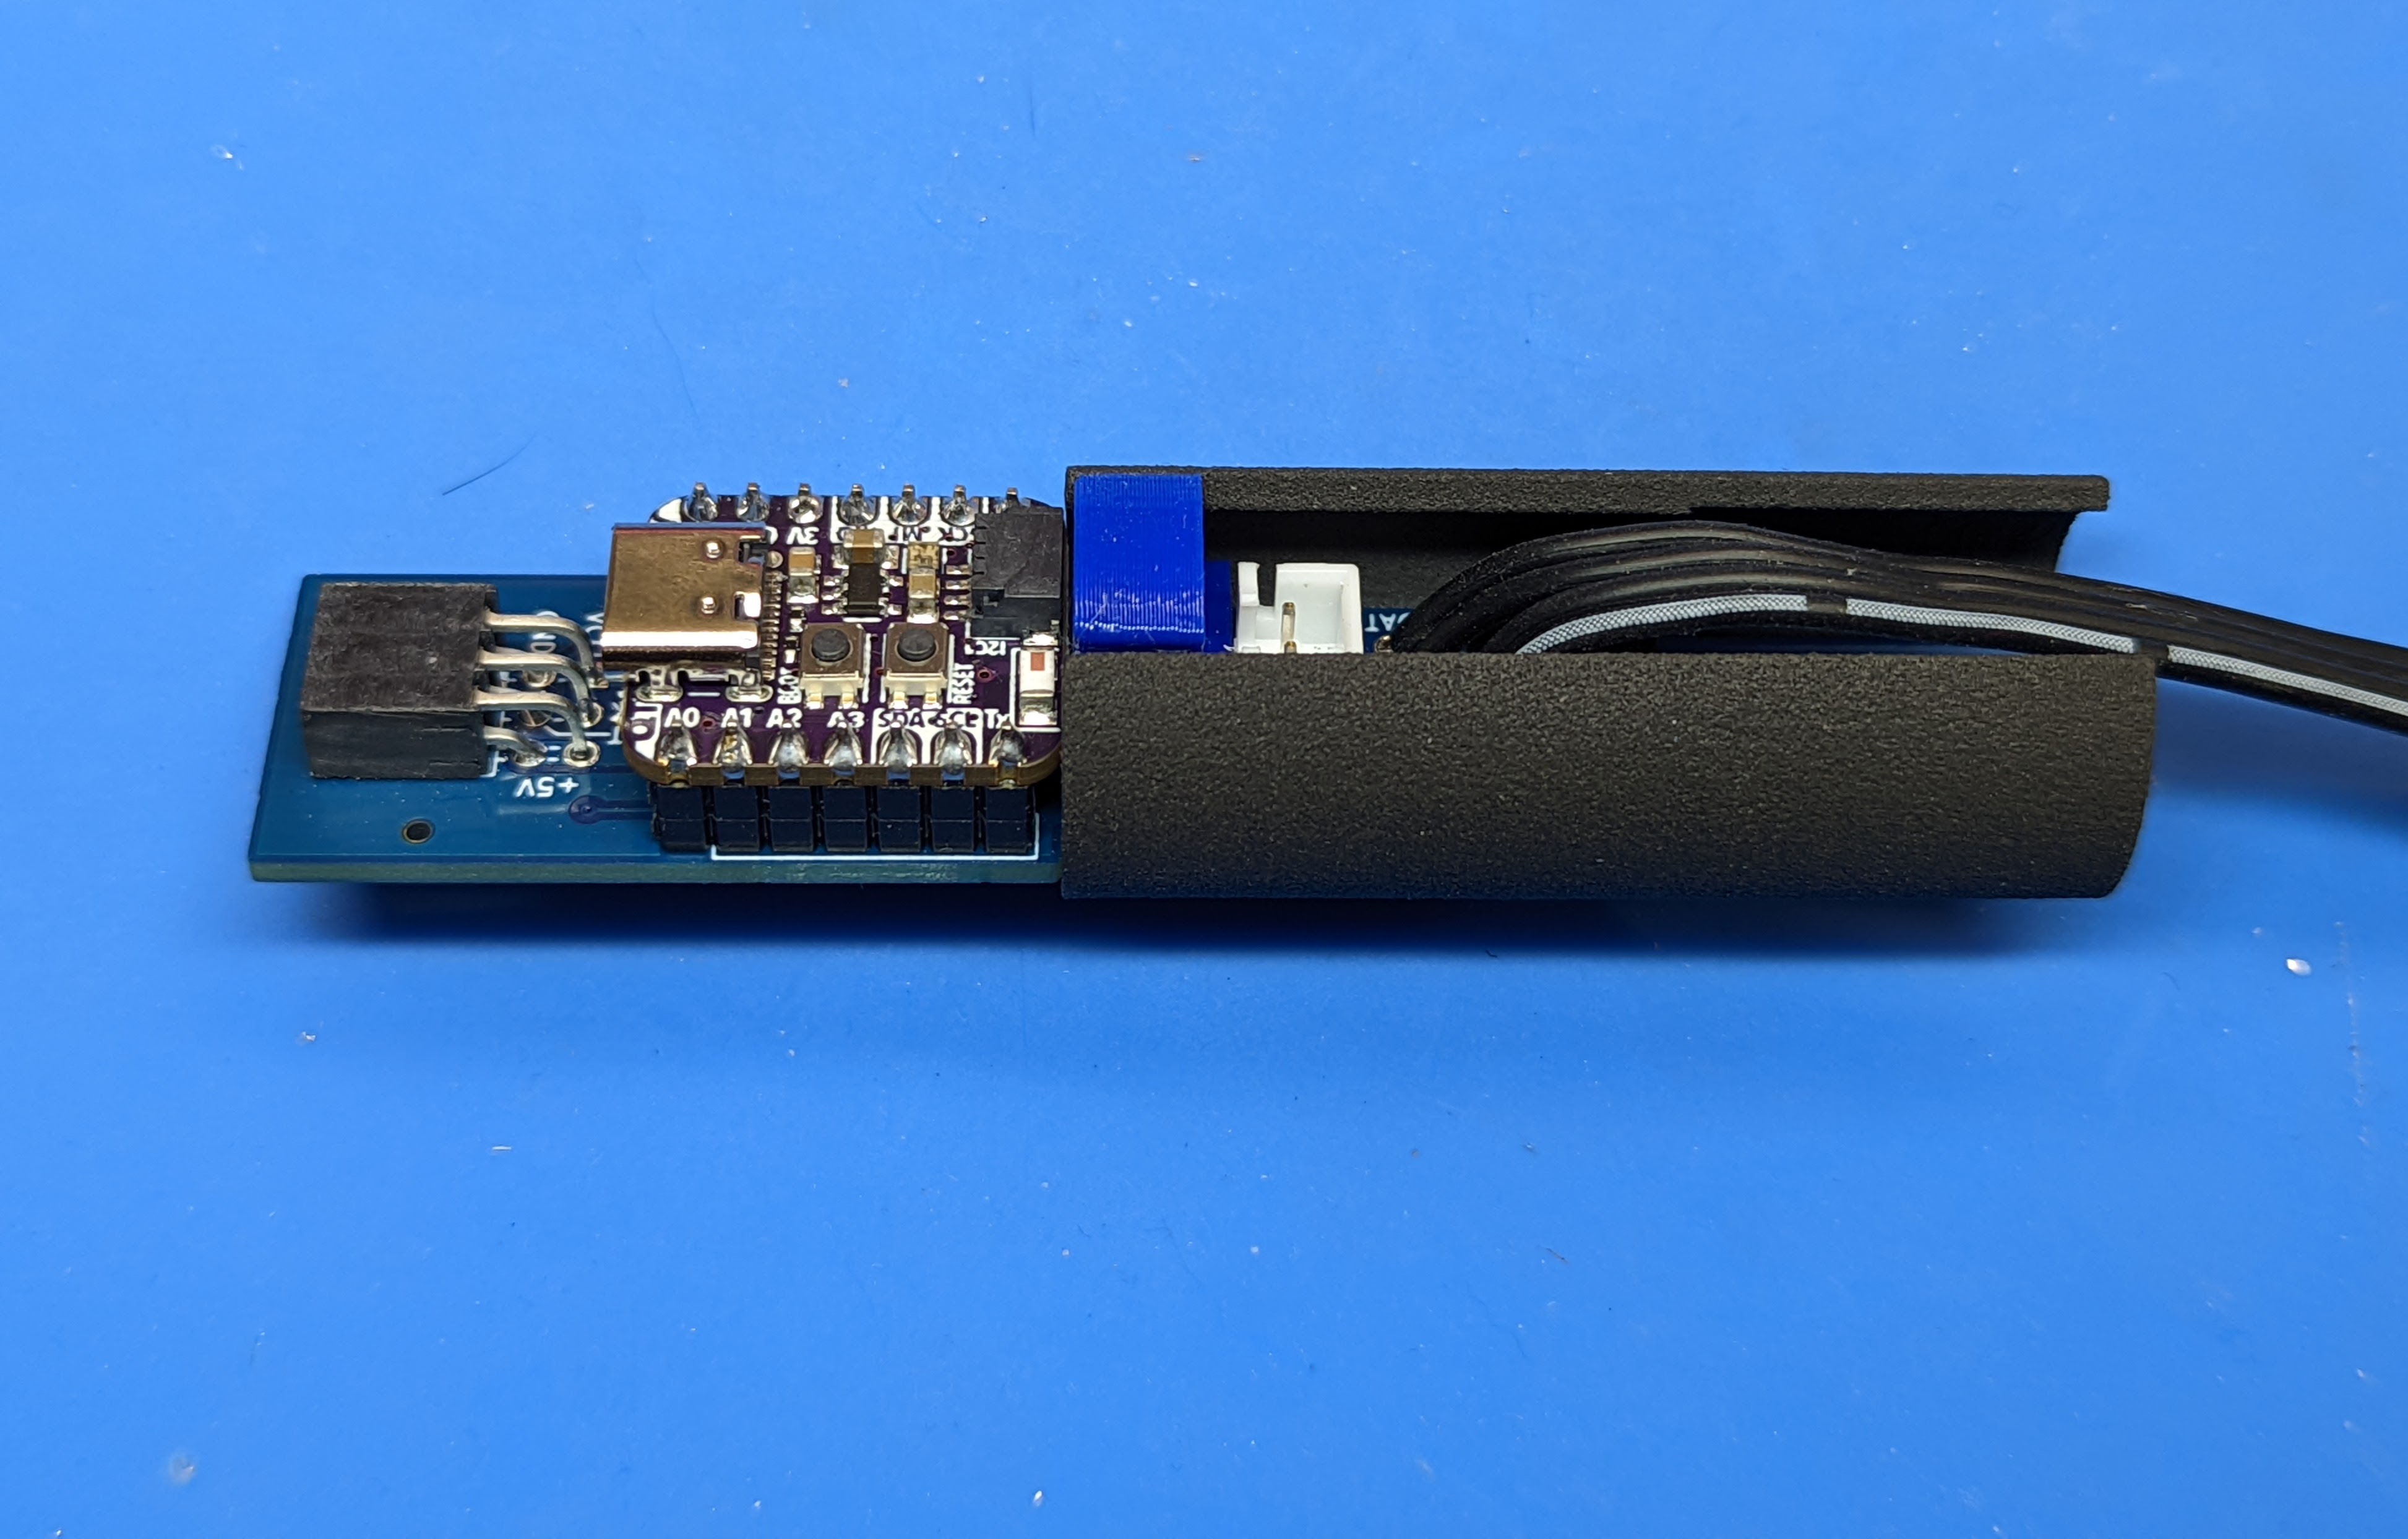
Repeat the same with the other spacer and plug and switch controller board.
Once you verified that everything fits, take it apart. Mix some epoxy glue and apply it to the outside of the plug (where it would be touching the inside of the spacer) and also on the bottom of the boards (again, where they would come in contact with the spacer). Assemble again; make sure the boards are fully inserted into the spacers and sit straight. If necessary, use electric tape or similar methods to keep the boards and plug in position. Put aside for one hour so that epoxy sets.
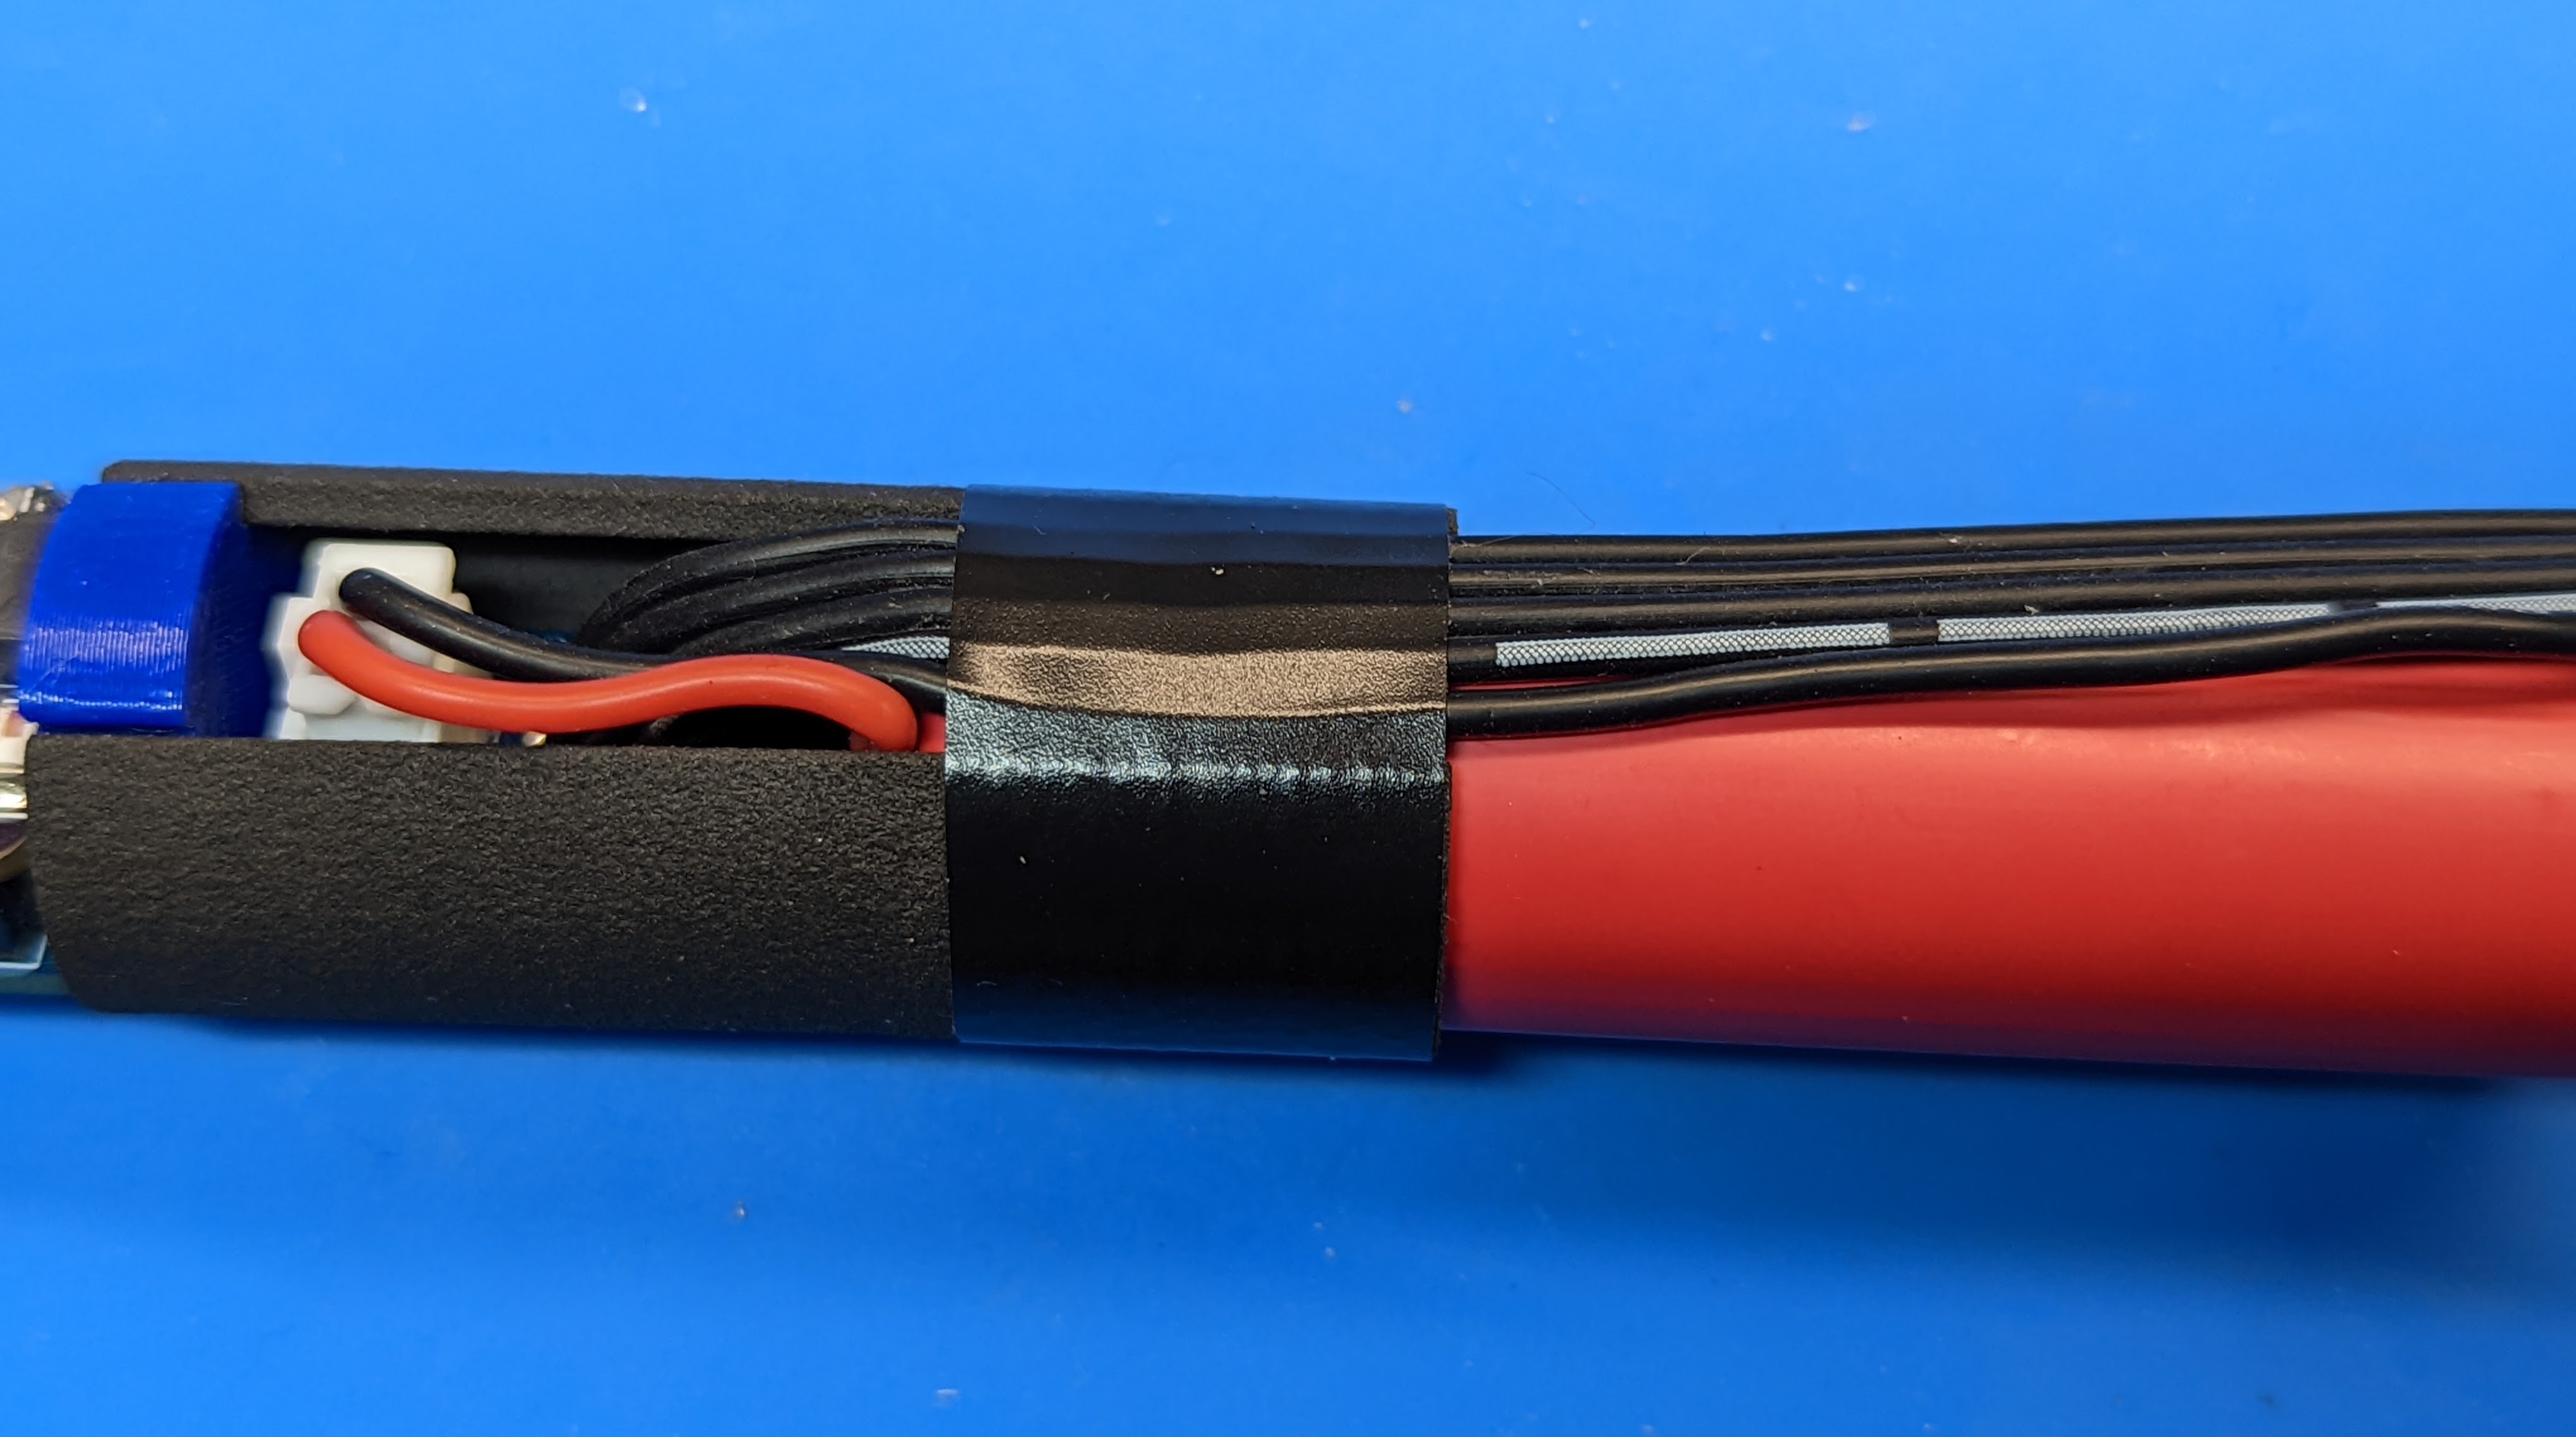
Once the epoxy sets, insert the batteries (positive terminal first) into the spacers. Plug the battery leads into the connectors on boards. Carefully arrange the wires so that they run along the battery through the openings in the spacers, with no wires crossing. Use 3/4” electric tape to attach the spacer to the battery, as shown below. Make sure to apply the tape without any twists or kinks - otherwise, it will not fit into the tube. Do it with both batteries.
Finally, take mid-battery spacer. Insert the negative terminal of each battery into this spacer. Warning: only insert batteries from the end; do not try to force the batteries from top/bottom - you can break the spacer. Hide the slack of the wires into the spacer between the batteries, so the wires on the surface of the batteries is taut. Use electric tape to hold everything together as shown below.
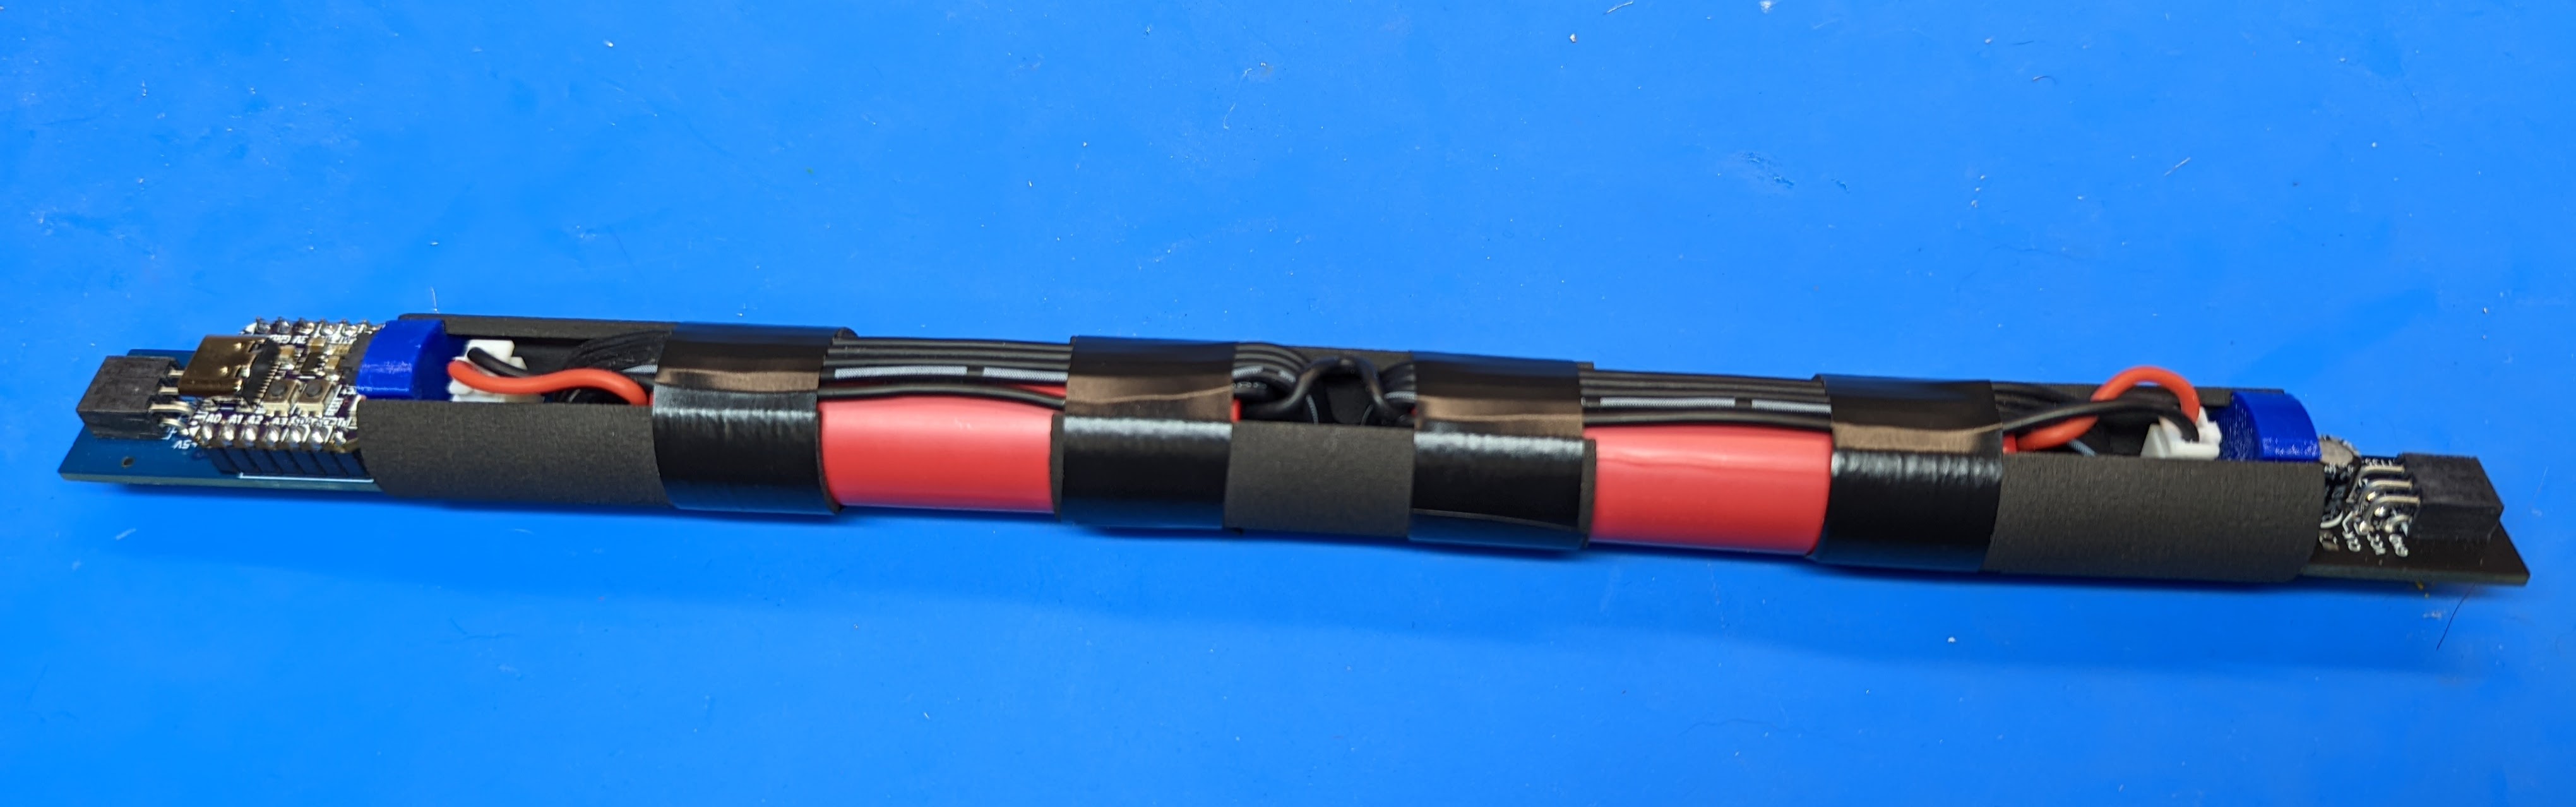
Try inserting the whole assembly into the tube. It should go in, possibley with some friction, but it shouldn’t require force. If it doesn’t go in easily, try to locate the offending place (usually some slack in the wires or kink in the electric tape) and fix it.